A comprehensive workflow guide for creating particle effect videos using Opus 5.5, covering material selection, frame extraction, particle styling, rhythm detection, and timeline arrangement.
Prompt
Share my production plan, send it to Opus 5.5 and it works.
1. Select Materials
Three standards determine success:
- Complete Subject: Full body of person or object in frame. Details are lost during processing; viewers recognize things by outline, close-ups become blurry.
- Clean Background: Solid color, snow, sky, etc., making subject/background separation easy.
- Clear Action Moments: Strikes, jumps, landings, turns. These are anchor points for special effects.
Sources can be self-shot, video model generated, or licensed clips.
2. Deconstruct Materials
Extract three types of info from each frame:
- Color: Original image.
- Depth: Distance from camera per position, calculated using depth estimation models.
- Subject Range: Where is the subject vs background.
Also identify shot transition moments. Key is stability: depth and subject range must be processed uniformly within the same shot to avoid jitter.
3. Define "Particles" and "Styles"
Decide what rebuilds the image: dots, squares, text, lines.
Design several styles. Each style is a combination of three rules:
- Placement: Entire image or only on subject.
- Size: Uniform or varying with brightness/depth.
- Color: Original colors or unified one/two colors.
Add a switch: Flat plane or 3D space based on depth. 3D allows camera orbiting.
Prepare 4-6 distinct styles. Adjust particle density visually: too large obscures content, too small looks like original.
4. Find Rhythm
- Set Speed: Choose music tempo, cut time into equal grids. Ensure one grid equals integer frames for alignment.
- Find Action Moments: Combine audio spikes and visual changes to find beats/strikes.
- Prepare Music: Analyze existing tracks or synthesize new ones matching speed, emphasizing beats.
5. Arrangement
Create a timeline specifying style, color scheme, and camera position for each grid. Store separately for easy rhythm adjustments.
Four principles:
- Intro Transition: Show original first, then transition to particles so viewers understand the change.
- Fast/Slow Alternation: Avoid monotony; include clearly slower sections.
- Contrast Colors: High contrast between adjacent grids makes transitions powerful.
- Ending Convergence: Particles grow into blocks or return to original image.
6. Feedback at Key Moments
Overlay short reactions on beats, graded by intensity:
- Light (every beat): Particle deformation, slight camera push.
- Medium (heavier beats): Some particles bounce toward camera.
- Heavy (climax): Time freeze, camera orbit.
Principle: Weak and short. Move only some particles, end within few frames, otherwise screen explodes and subject is unclear.
Work Method Throughout
- Small Sample First: Render few frames after each step to verify before proceeding. Full render only at end.
- Batch Parameters: For uncertain params like density, have AI generate 5-6 levels side-by-side for you to choose.
- Partial Re-render: Only re-render adjusted segments.
- Visual Check: Require AI to open and view rendered results before reporting.
- Fix Randomness: Ensure consistent rendering for identical settings to allow iterative modification.
How to use this prompt
1
Copy the full prompt above.
2
Open a platform that supports Claude Opus 5.5, such as YouMind, and paste the prompt in.
3
Swap the subject, style, or details to fit your idea, then generate.
This is a free AI prompt from YouMind's prompt library. Explore thousands more video prompts, all free to copy and adapt.
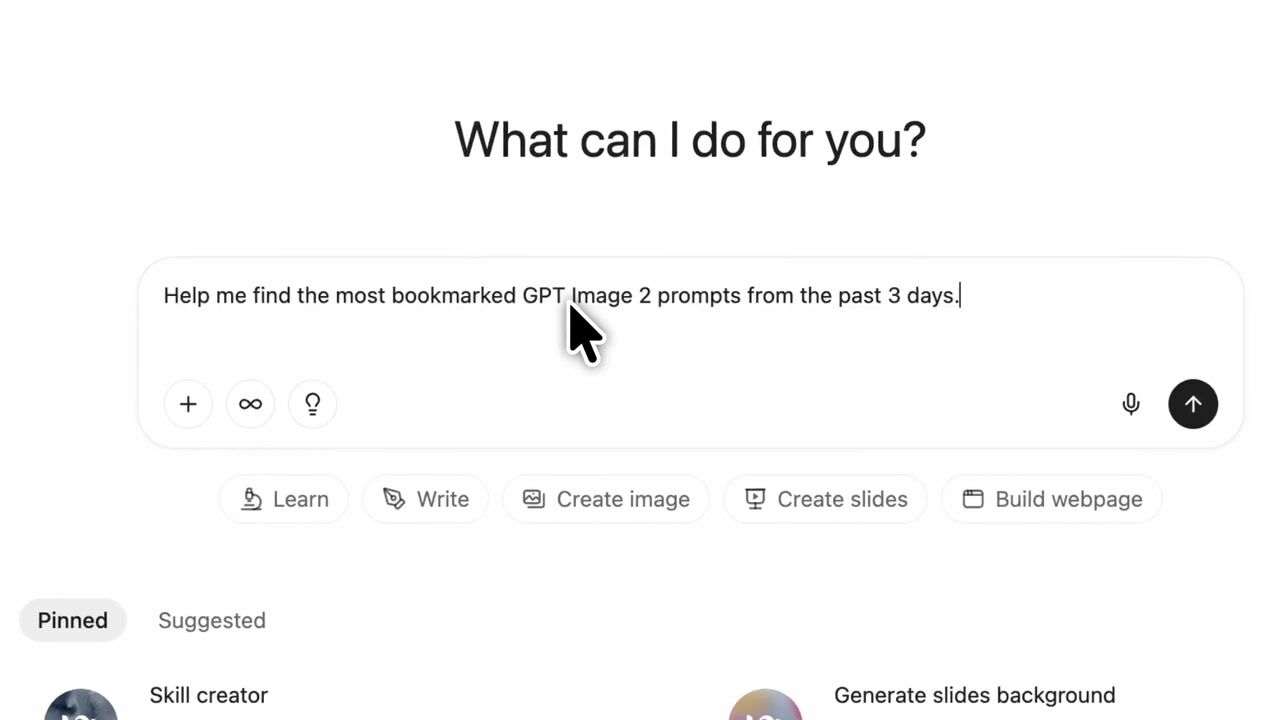
Let AI search through tens of thousands of prompts. Filter by model, time range, keywords, and sort by engagement — views, bookmarks, reposts and more.
Turn any photo into a detailed AI image prompt. The free image to prompt converter analyzes composition, style, and lighting so you can recreate any look in seconds.