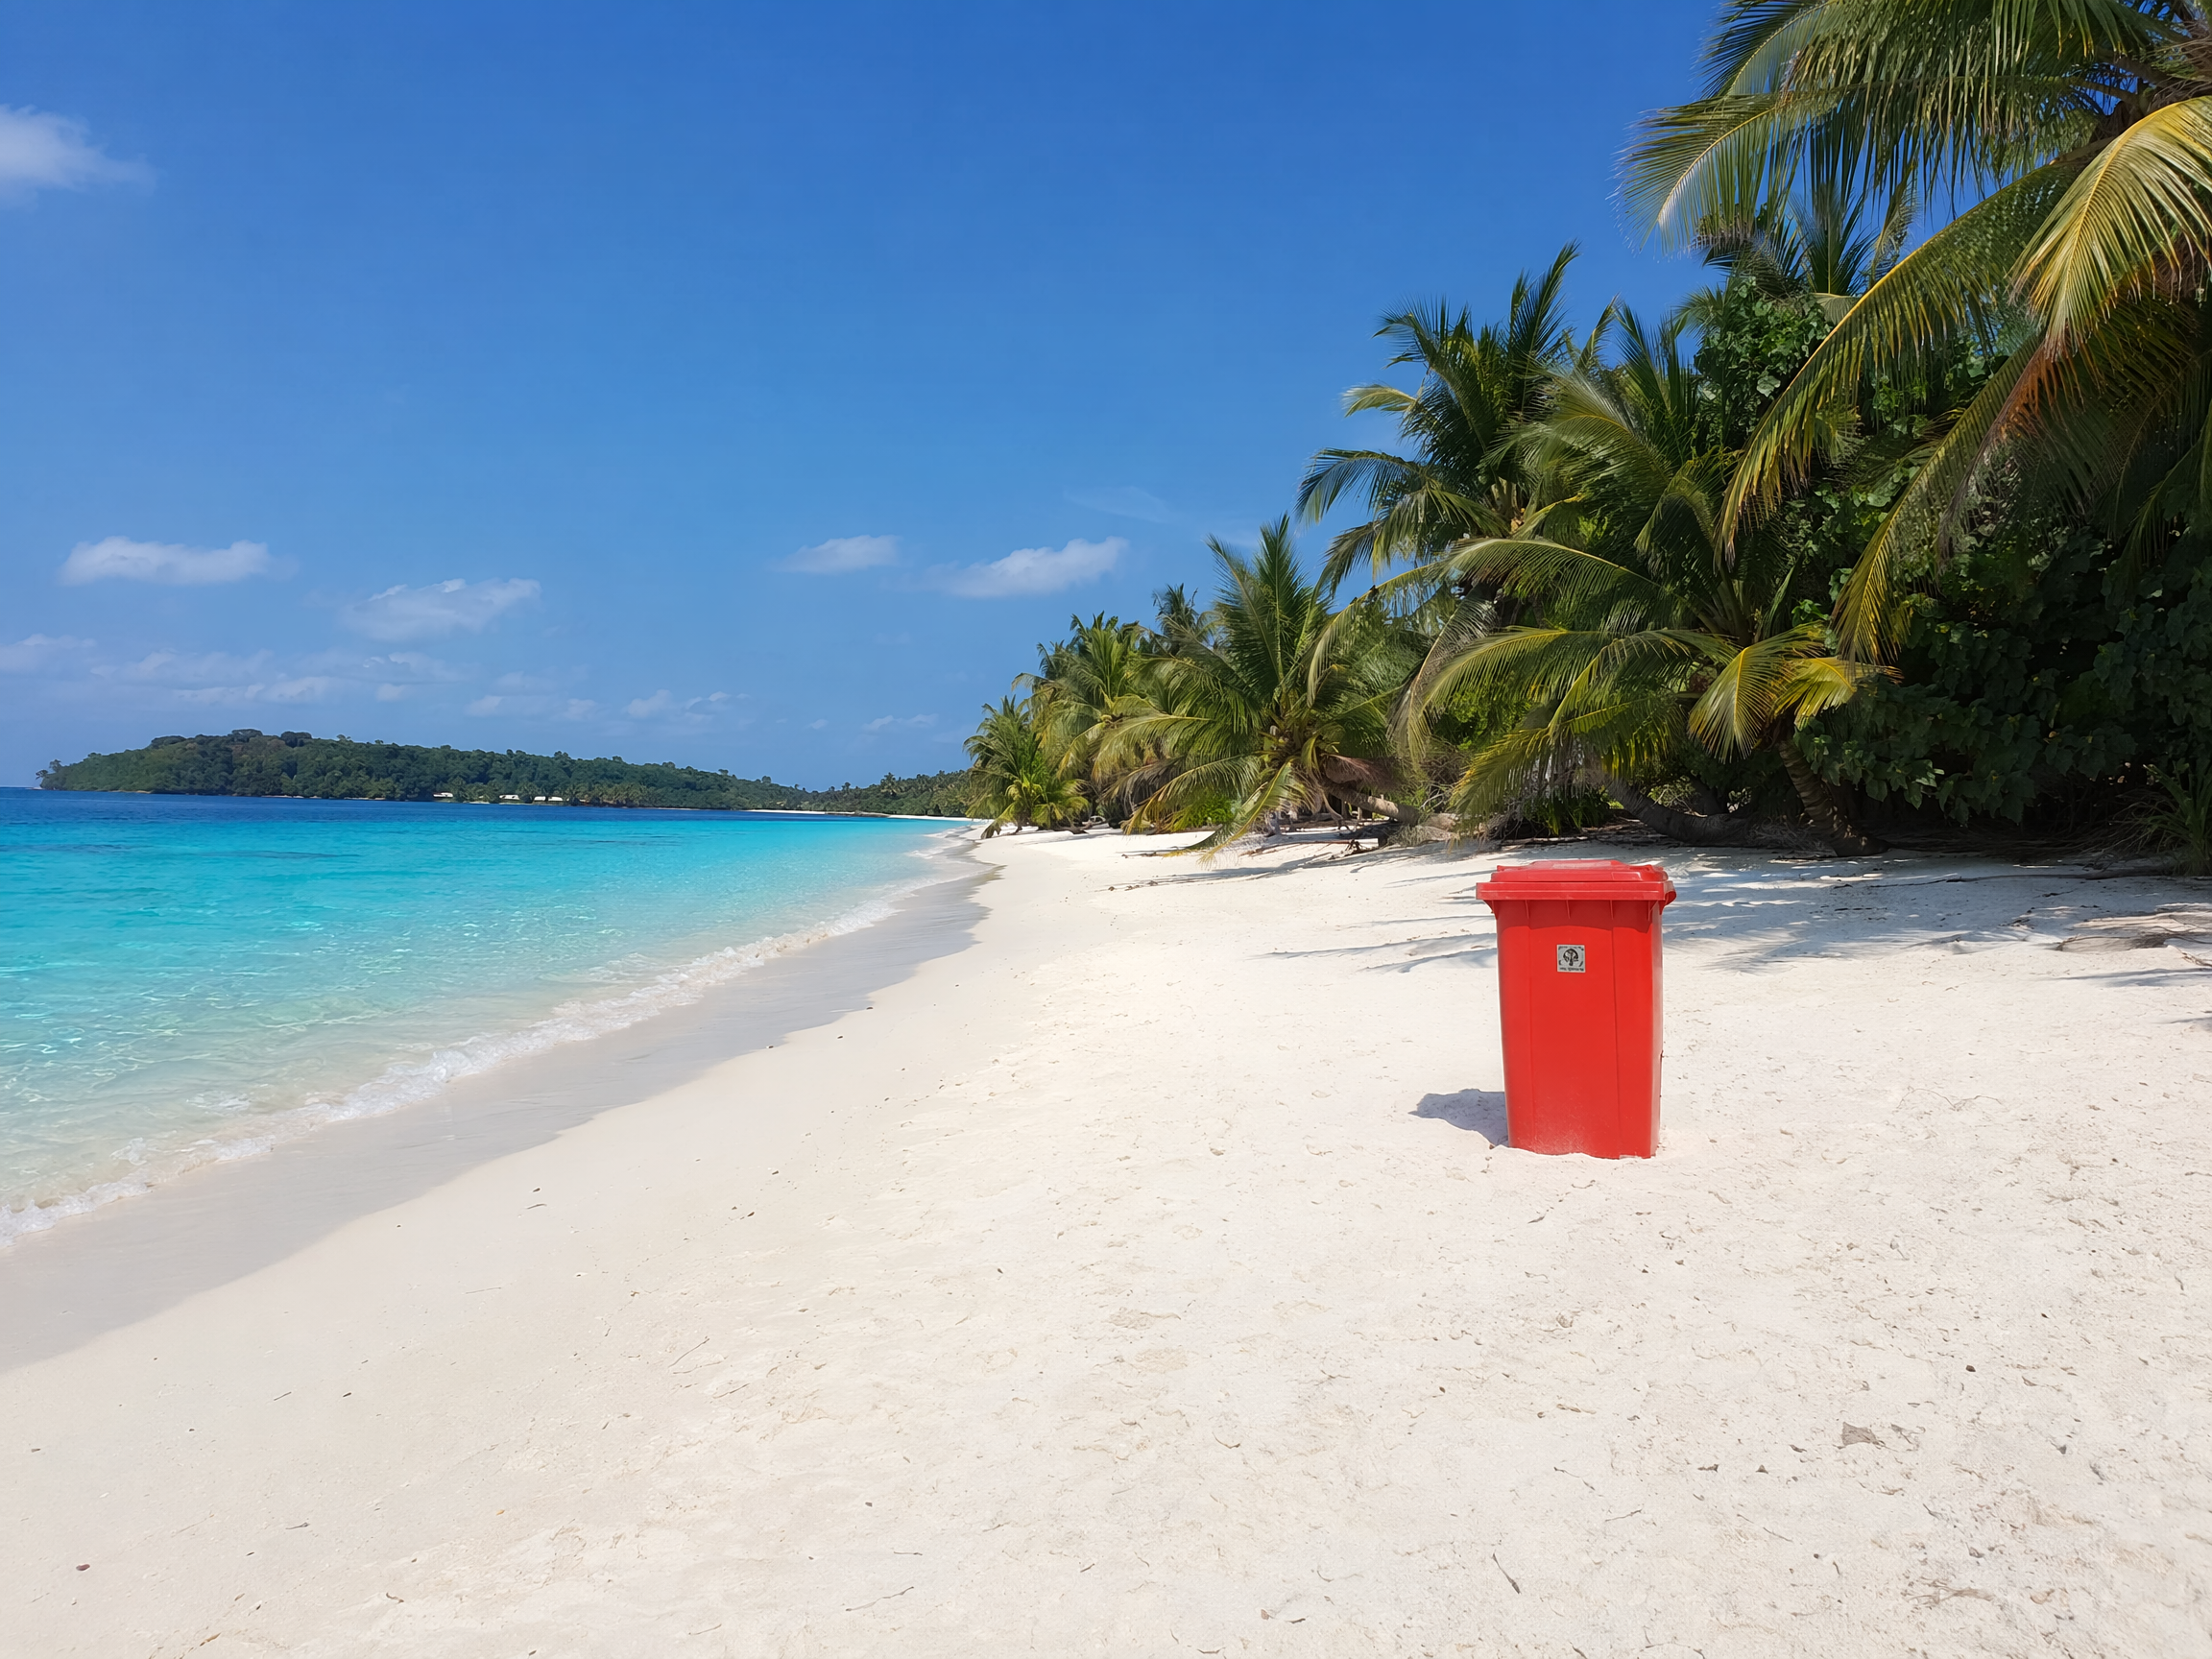
Clean up distractions in a scene
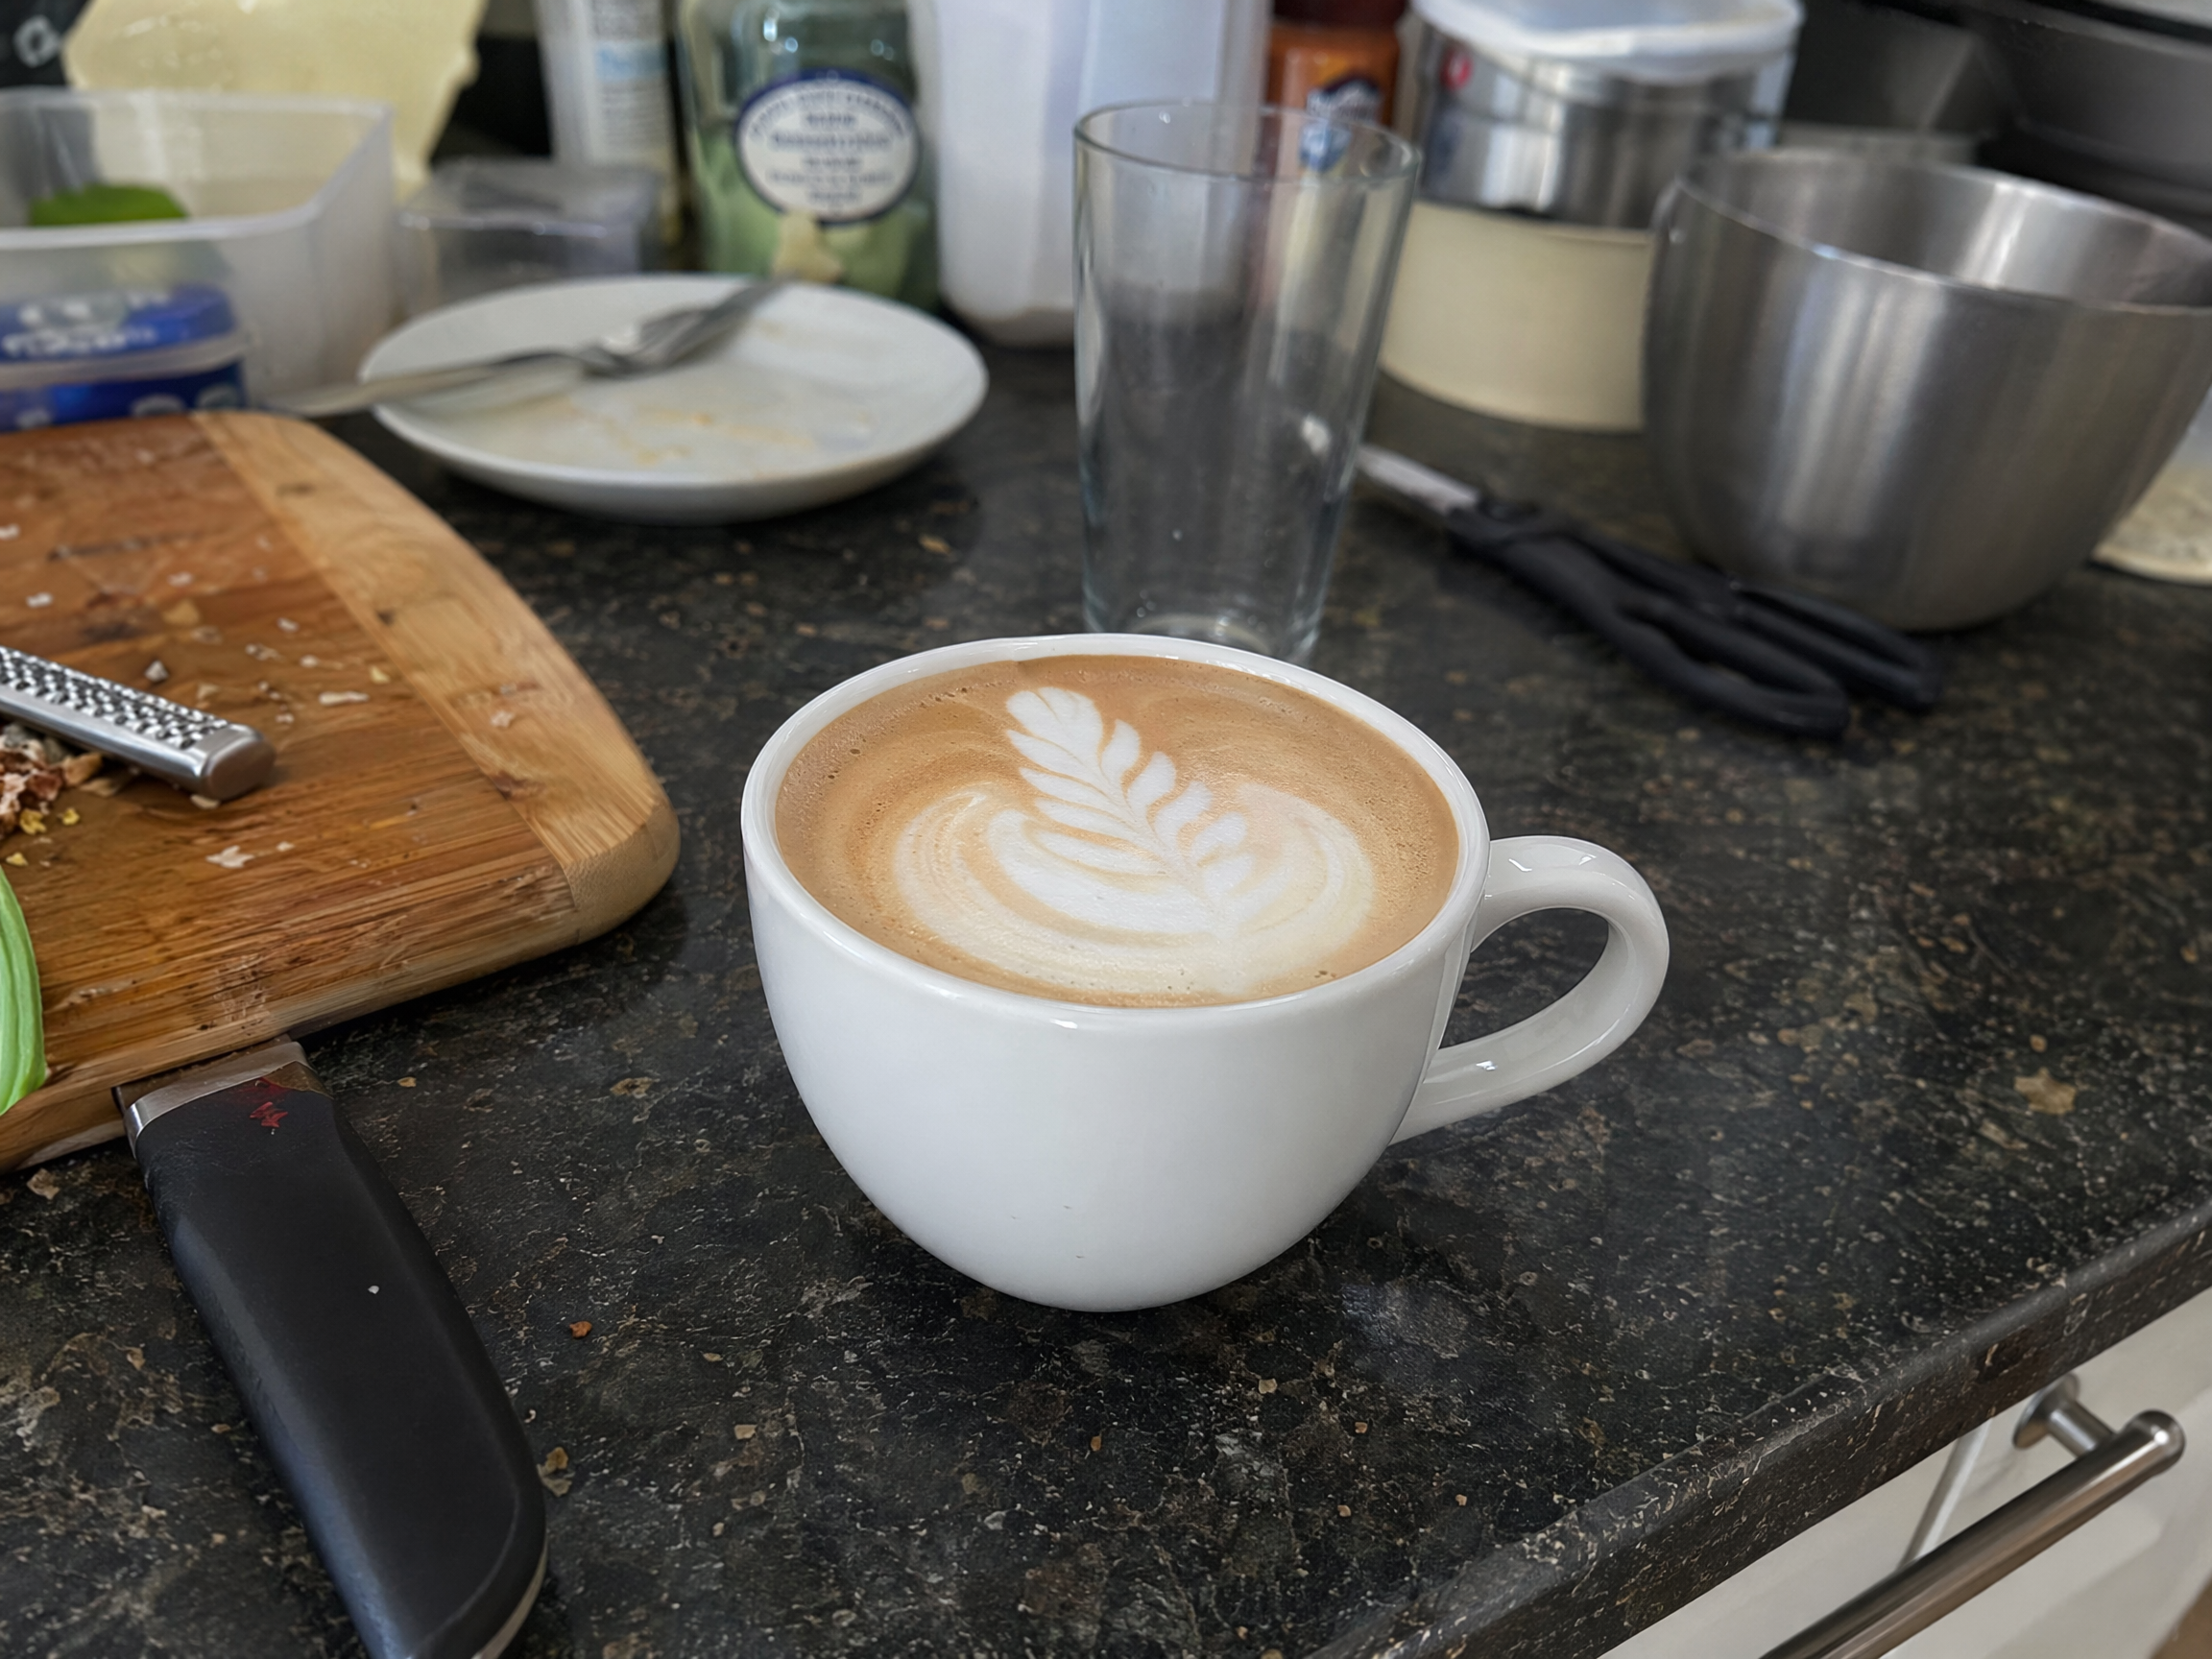
Remove an unwanted trash can or object while keeping the street, lighting, and surrounding details natural.
Upload a photo, select what you want to change, and describe the edit in one sentence.
Real edit examples
Remove an unwanted trash can or object while keeping the street, lighting, and surrounding details natural.
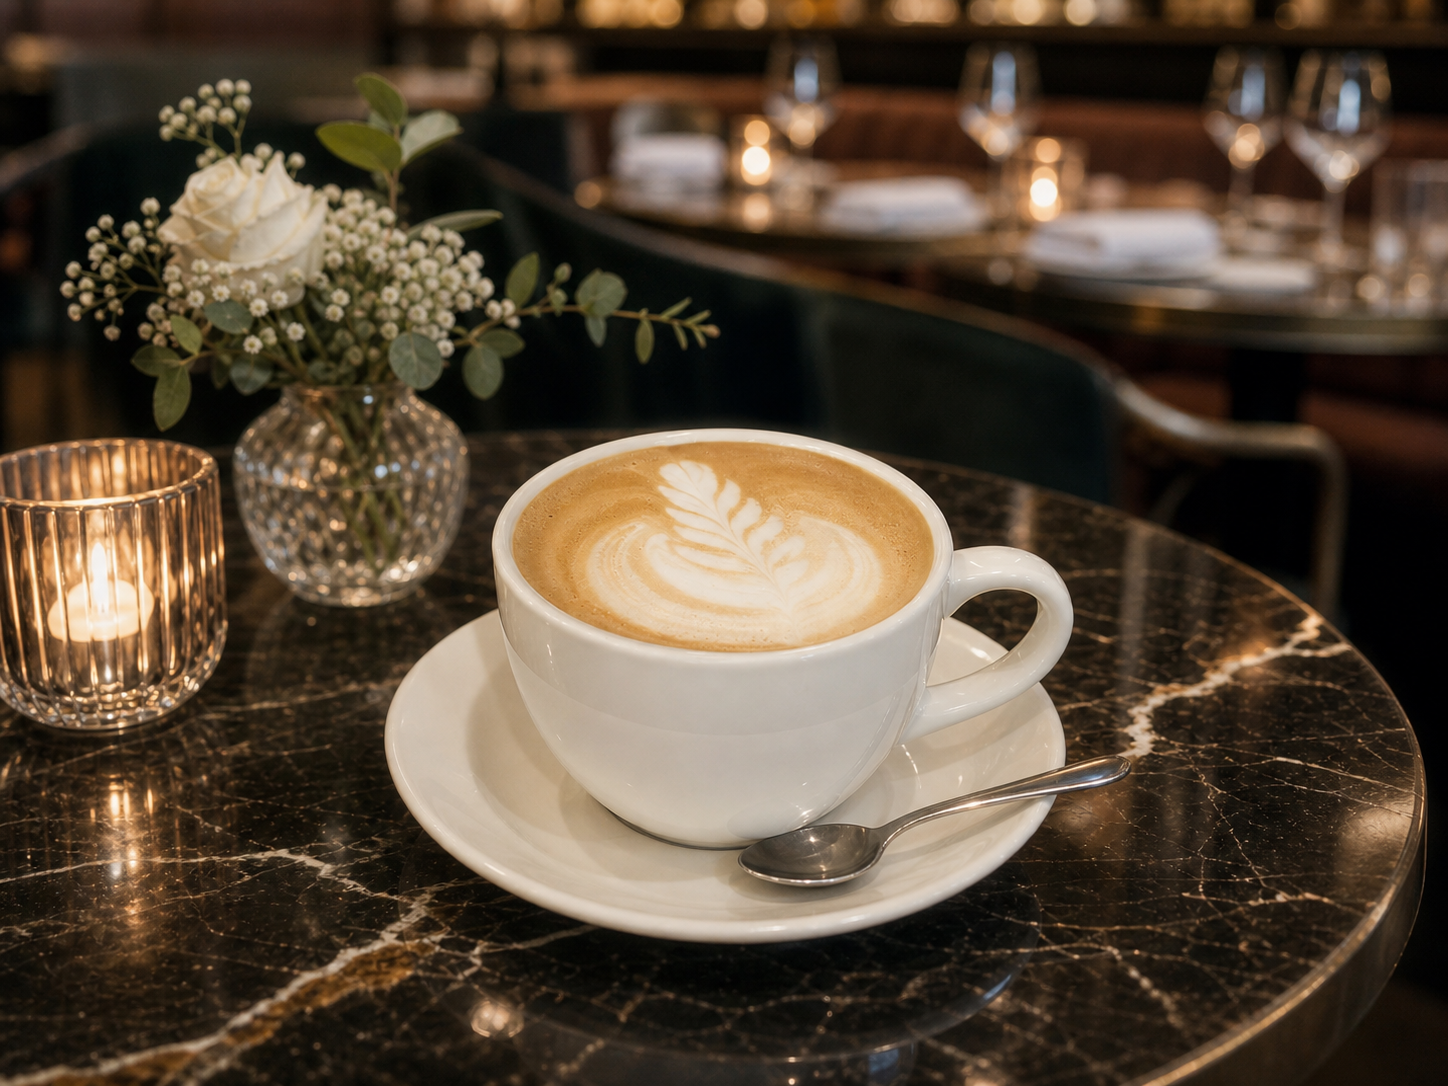
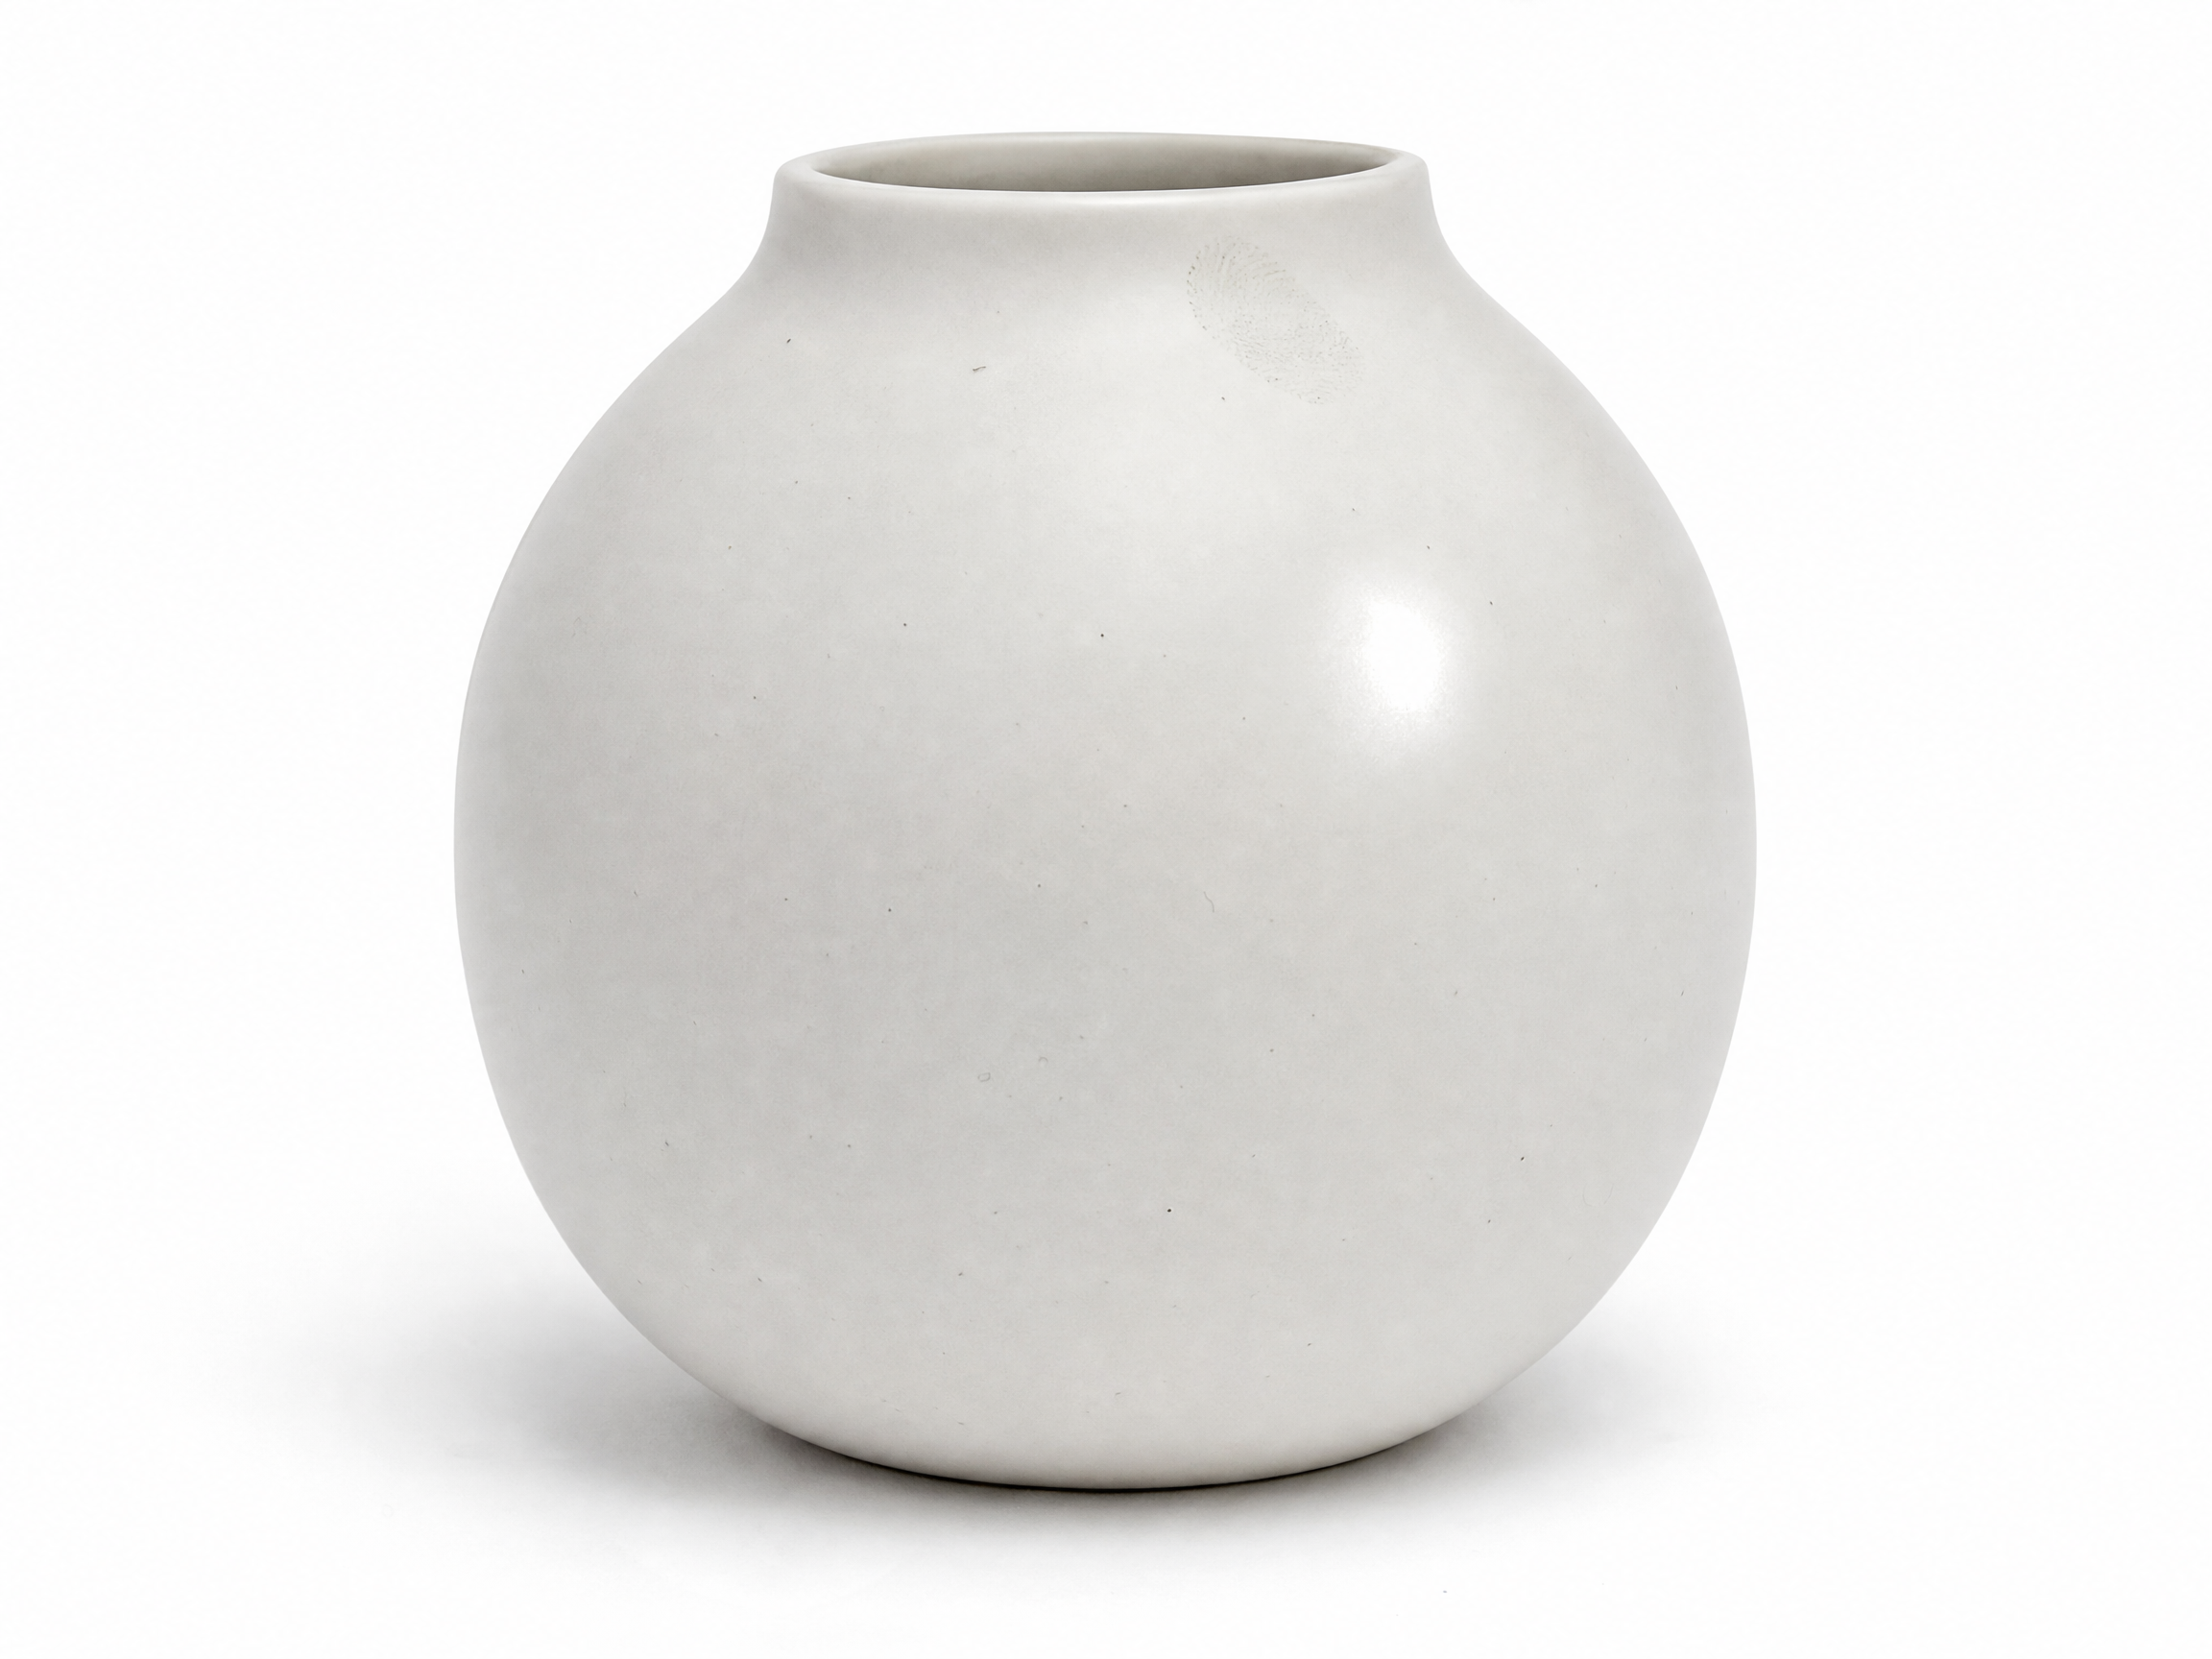
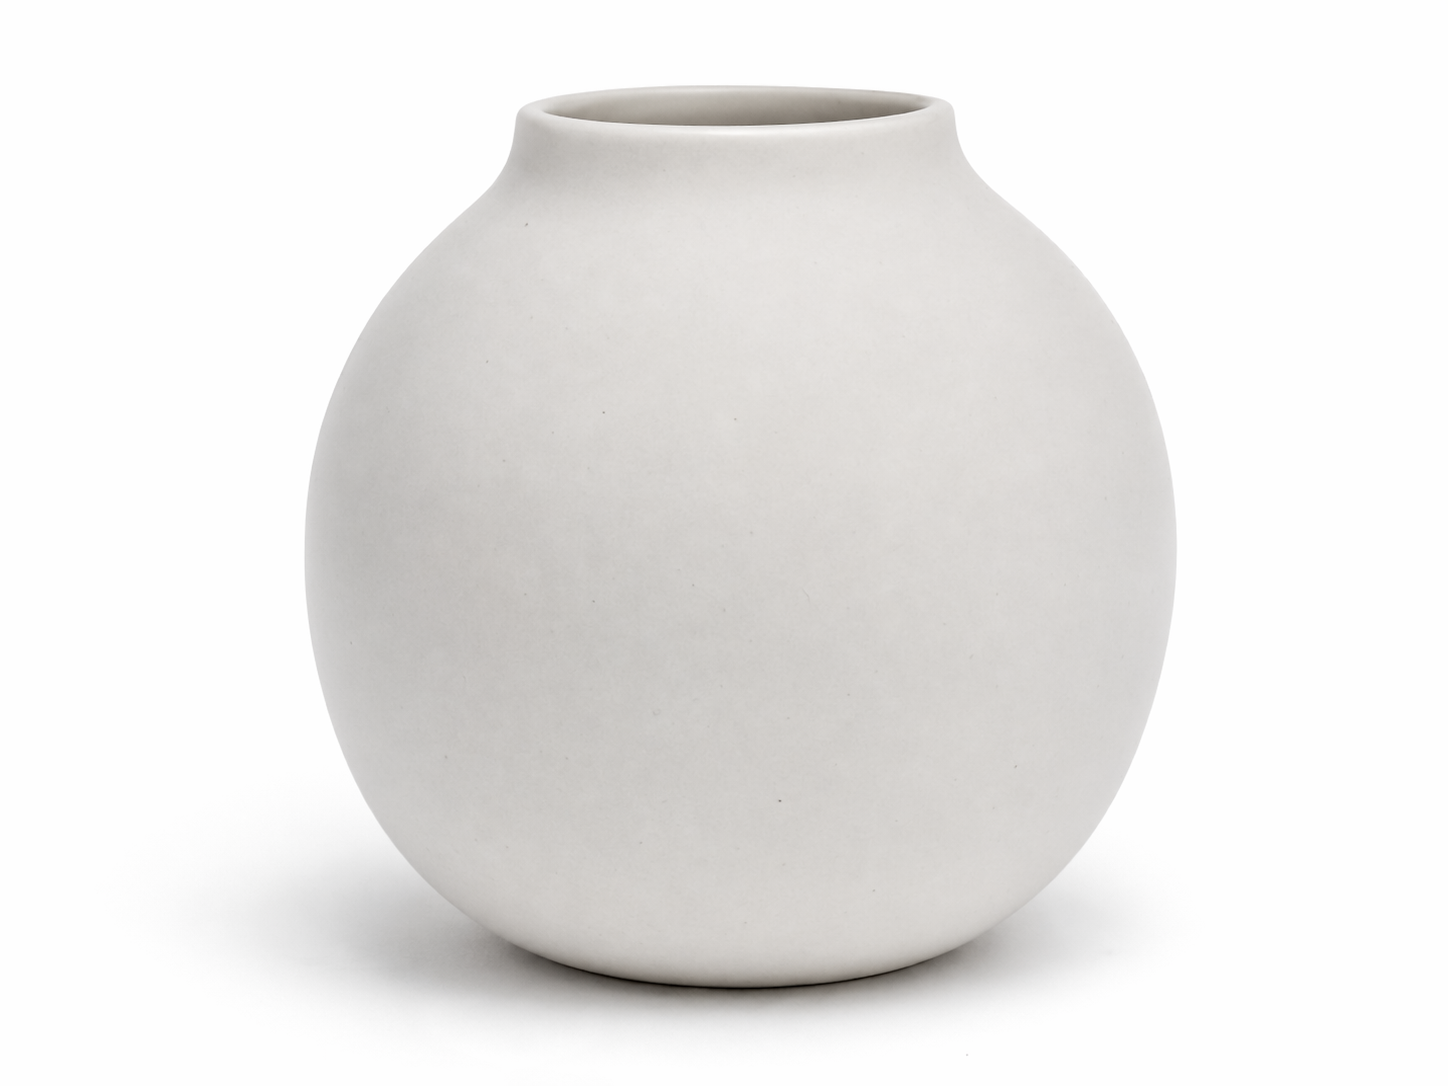
Turn a cafe or product scene into a more polished restaurant setting without rebuilding the main subject.
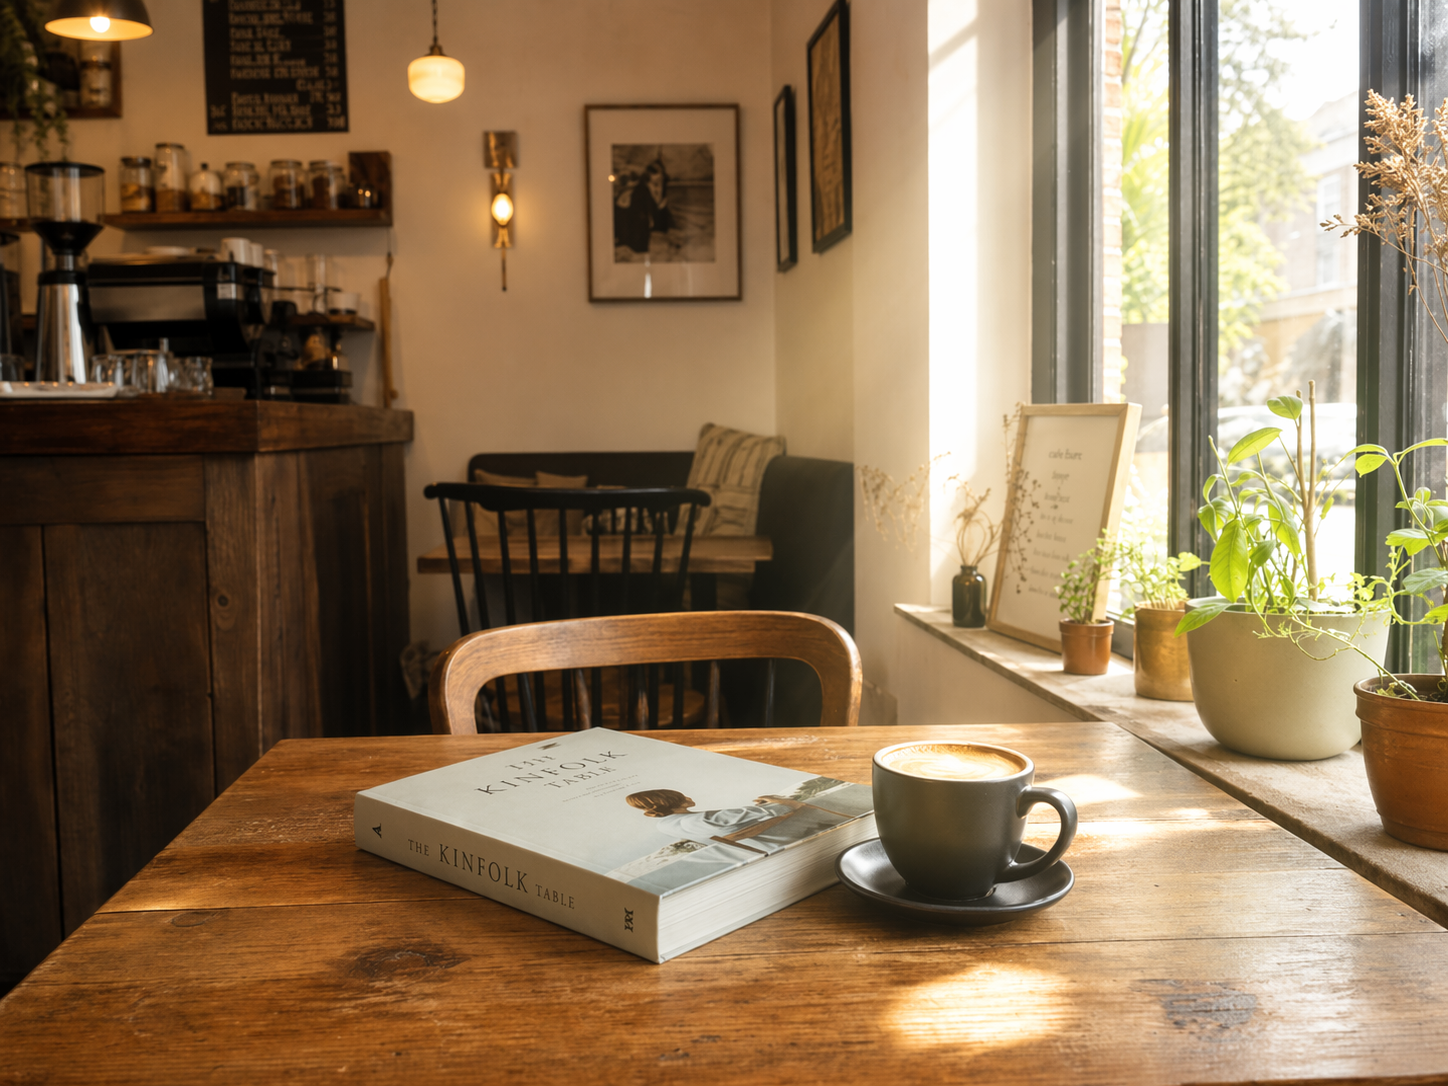
Add window light and brighten the selected area while preserving the original composition.
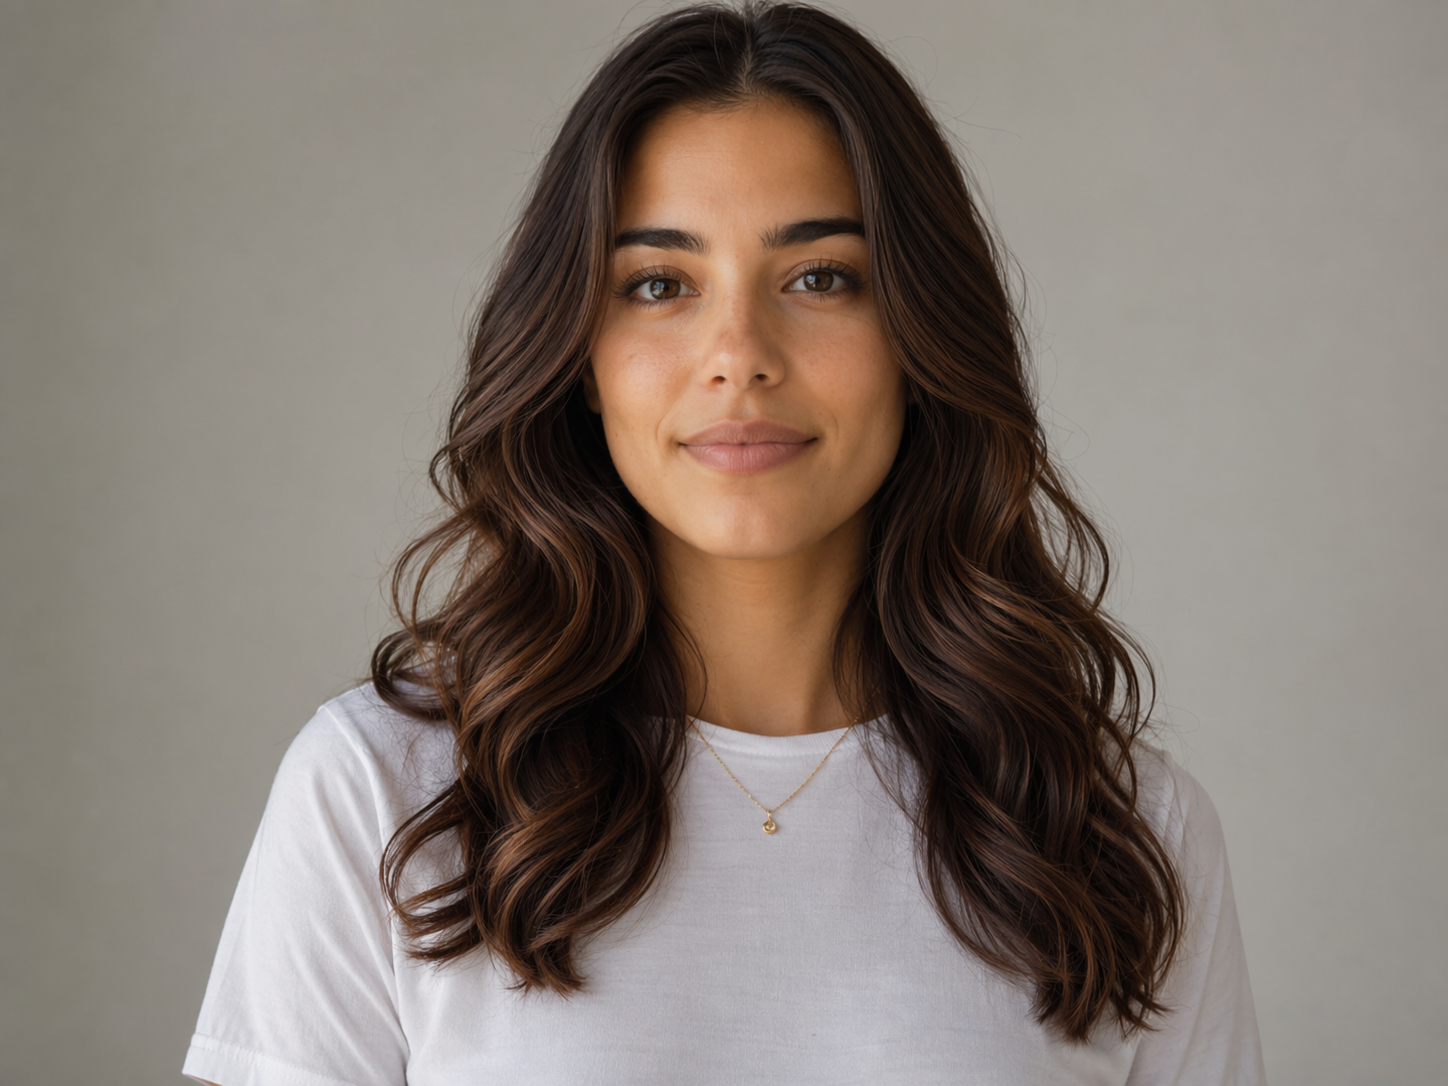
Turn a side-facing portrait toward the camera while keeping the person recognizable and the image coherent.
Remove reflections, stains, and small flaws so the product looks cleaner without losing texture.
Transform an ordinary street into a cyberpunk look while keeping the layout and perspective intact.
Workflow
Start with a portrait, product shot, campaign visual, or image prompt result.
Mark the part you want to change so the prompt stays focused on that local region.
Describe separate edits for a face, object, background, reflection, or detail.
Preview realistic edits, keep what works, and continue refining the image.
Photo editing prompt
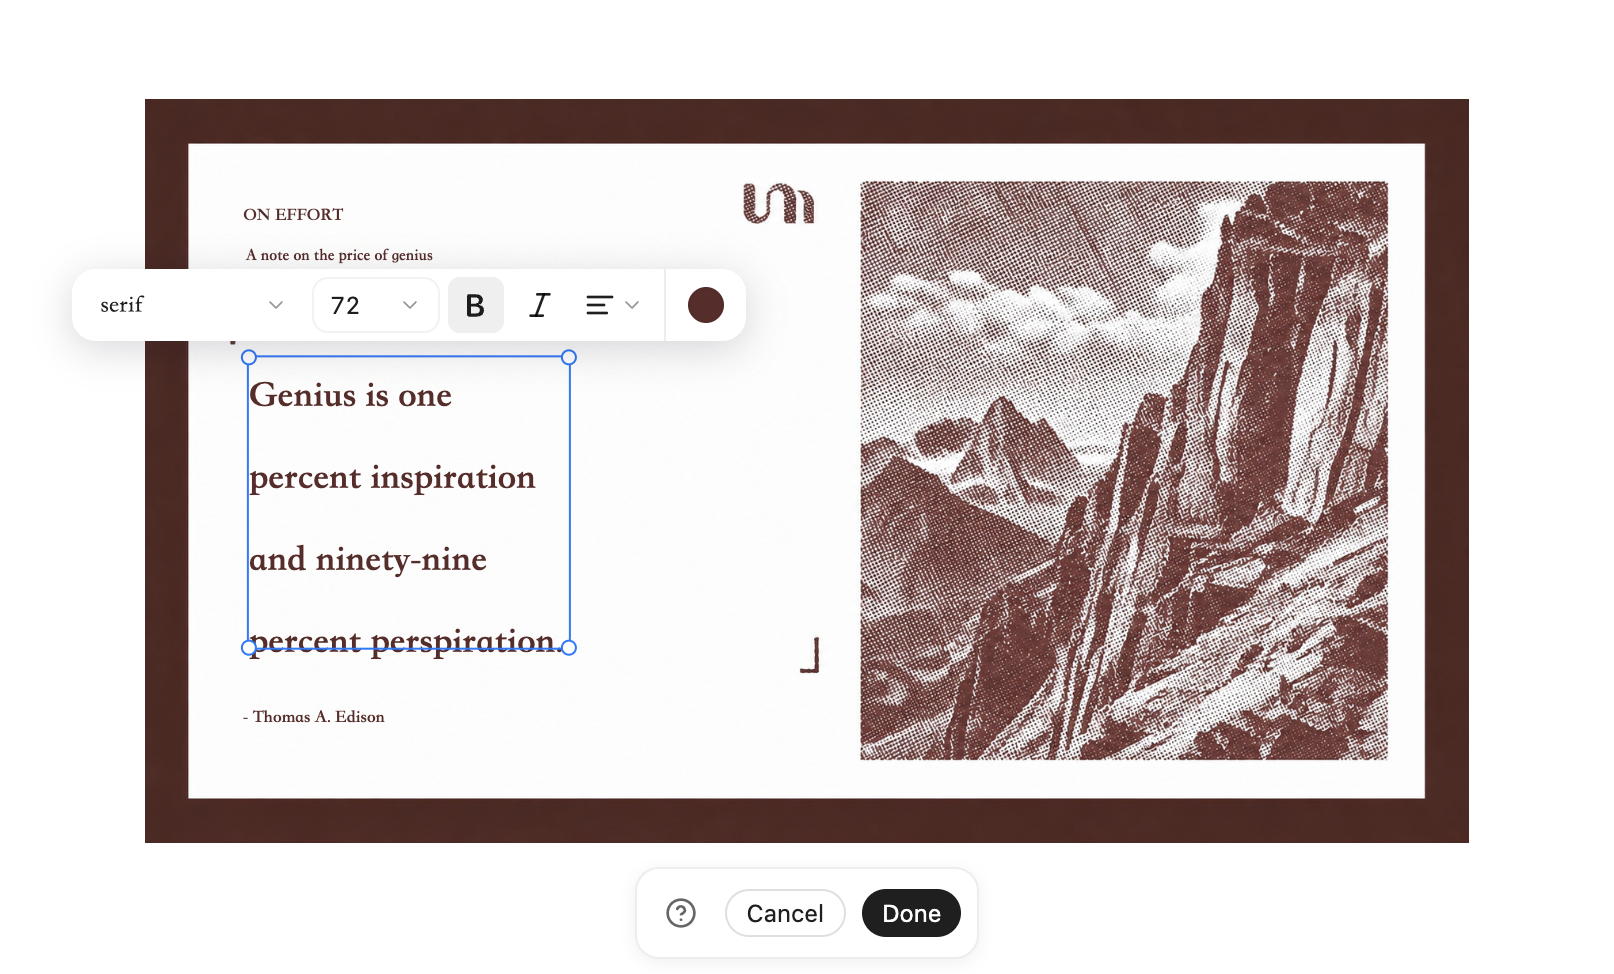
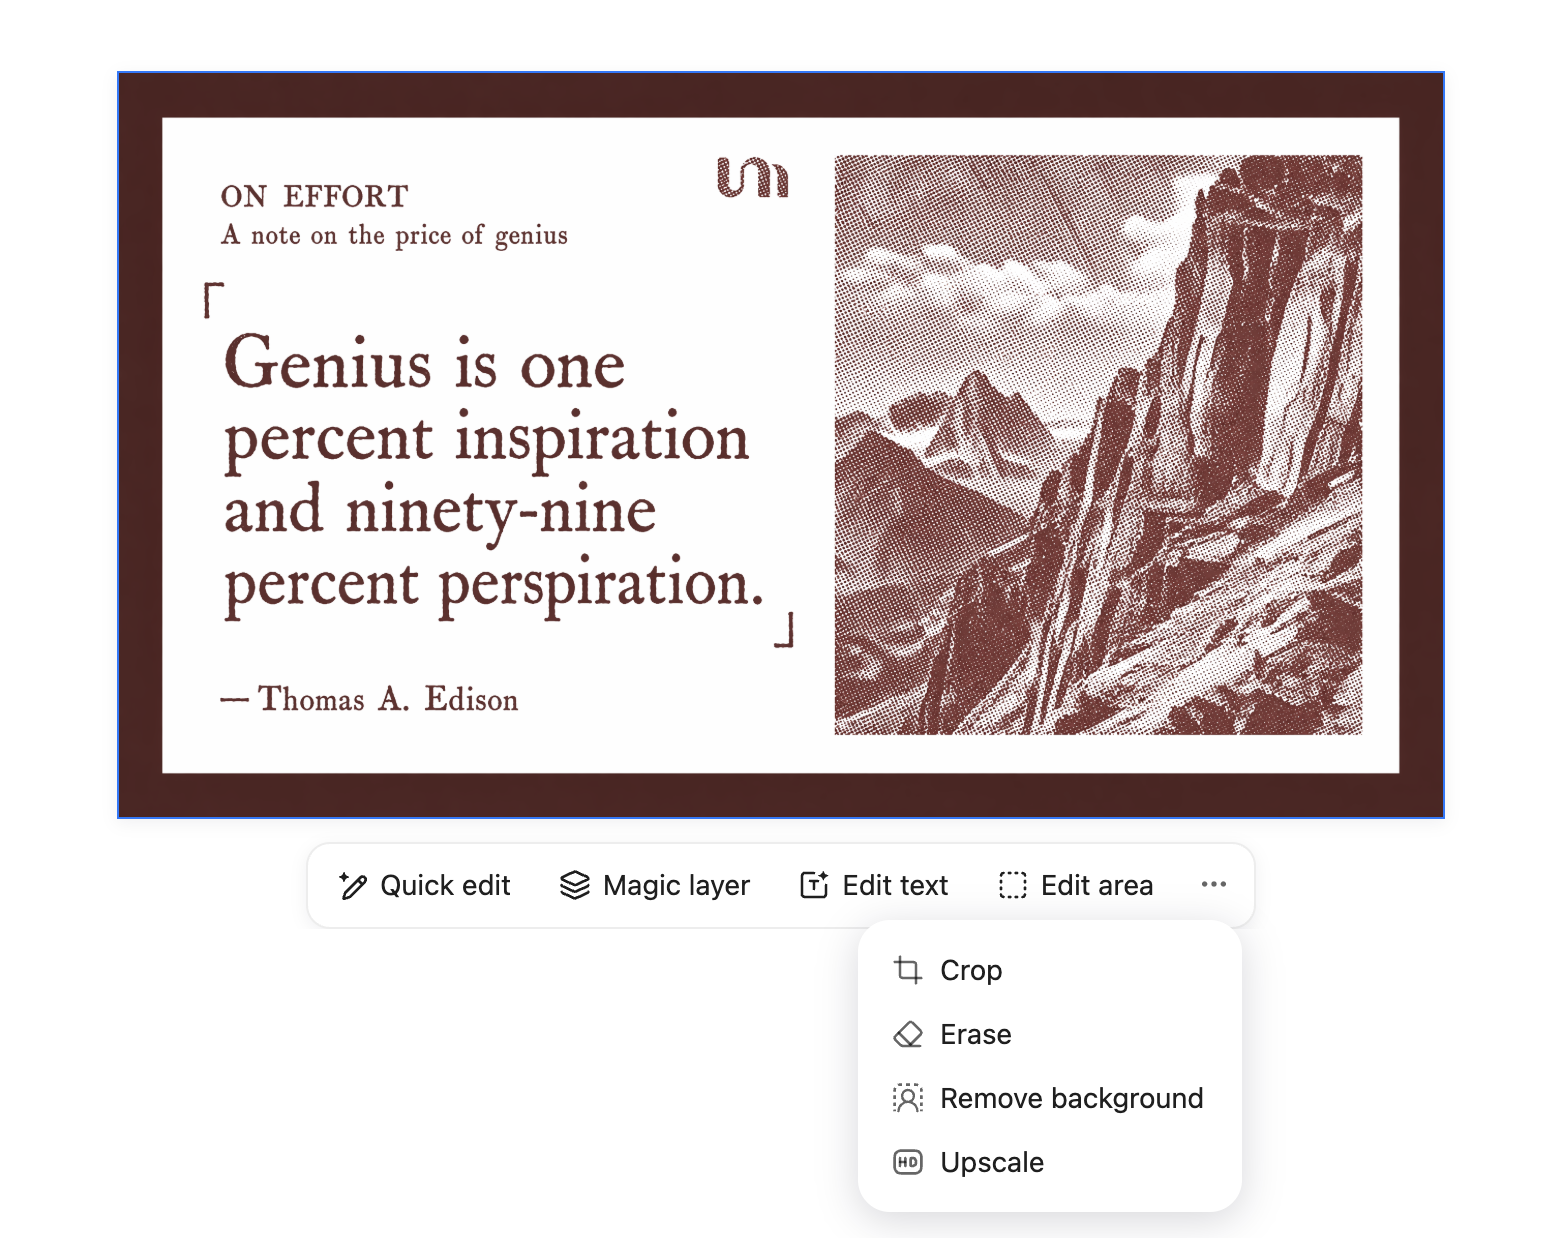
A good photo editing prompt does not need to be longer. It needs a clear target. Upload an image, select a person, text, background, or object, then describe the replacement, fix, or adjustment in one sentence. AI can focus on the selected area while keeping the rest of the photo closer to the original.
Why YouMind
Mark the region, describe the change, and let AI handle the edit. No layers, masks, feathering, or complex settings.
Select backgrounds, text, product details, or other areas together and submit them in one editing flow.
Keep edits scoped to the box you drew, while unselected parts stay visually stable and consistent.
Use it for ecommerce photos, social content, portrait details, and quick design iterations with one prompt.
Comparison
| Dimension | YouMind | Adobe Photoshop |
|---|---|---|
| Local editing method | Select an area, describe the change, and let AI generate the edit. | Create selections or masks, then use Generative Fill and manual cleanup. |
| Learning curve | Low-friction: select the area and write what you want. | Requires layers, masks, selection tools, and retouching habits. |
| Multiple regions | Desktop supports multiple selected regions in one flow. | Typically handles one selection at a time. |
| Workflow | Select area -> write prompt -> apply. | Create selection -> adjust feathering -> fill -> refine edges manually. |
| Platform | Browser-based, no installation required. | Desktop app with installation and device requirements. |
| Best for | Creators, ecommerce operators, social editors, and prompt-first workflows. | Professional designers, photographers, and advanced post-production teams. |
| Dimension | YouMind | Canva |
|---|---|---|
| Local edit precision | Draw a freeform box around the exact area you want AI to redraw. | Magic Edit relies on brush-style selection, which can be less precise. |
| Multiple regions | Select multiple areas on desktop and handle them in one editing flow. | Usually focuses on one local edit at a time. |
| Editing freedom | Any selected area plus natural-language instructions, without template limits. | Strong template system, but complex image edits can feel constrained. |
| AI generation quality | Designed for contextual local redraws that blend back into the original image. | Good for simple fill and design tasks, but complex scenes may need cleanup. |
| Local replacement | Select an object, describe the replacement, and generate a blended result. | Better suited to simple erase, replace, and design adjustments. |
| Best use cases | Product retouching, portrait details, creative compositing, and prompt edits. | Social posts, posters, templates, and simple background changes. |
FAQ
It helps turn the change you want into a clear editing prompt. Instead of applying a preset filter, you describe what to edit, where to edit it, and what should stay unchanged.
Upload a photo, select the area you want to change, and describe the edit in plain language. You can keep refining the selected area until the image feels right.
Describe the object or area, the change you want, the style, and anything the AI should preserve. Clear prompts like “replace the cup with a glass vase, keep the table and lighting unchanged” usually work better than short commands.
Yes. Select the region you want to change, then write a photo edit prompt for that area. The more specific the selected area and instruction are, the easier it is for the AI to keep the rest of the image stable.
On desktop, you can plan edits across multiple areas of the same image. On mobile, it is often easier to focus on the current selected area and adjust the photo step by step.
A normal image prompt creates a new image from scratch. A photo edit prompt starts from your existing photo, so it focuses on preserving the original subject while changing, replacing, or refining specific details.
You can guide it by saying what should stay unchanged, such as the face, pose, lighting, background, or product shape. Results still depend on the image, the selected area, and how clearly the edit is described.
Go beyond image generation and editing. Explore writing, slide creation, and more creative formats in YouMind.
Start creating