I make a lot of TikTok slideshows. Not because I love TikTok, but because slideshows are the easiest viral format out there right now: they're cheap, fast, and a good first slide can get saved thousands of times. You don't need a camera, you don't need to be on screen, and you don't need to know how to code.
The trick isn't coming up with ideas. It's speed. One slideshow a day is a hobby. A few a day is a real account. So I built a simple routine: take a slideshow that already went viral, figure out why it worked, and rebuild fresh versions of it.
I'll use StudyTok (study tips, exam-season, "how I actually passed" content) as the example all the way through, because it's evergreen and people hoard study hacks — the saves are insane.
And this is one of my TikTok accounts that I use to promote my app:
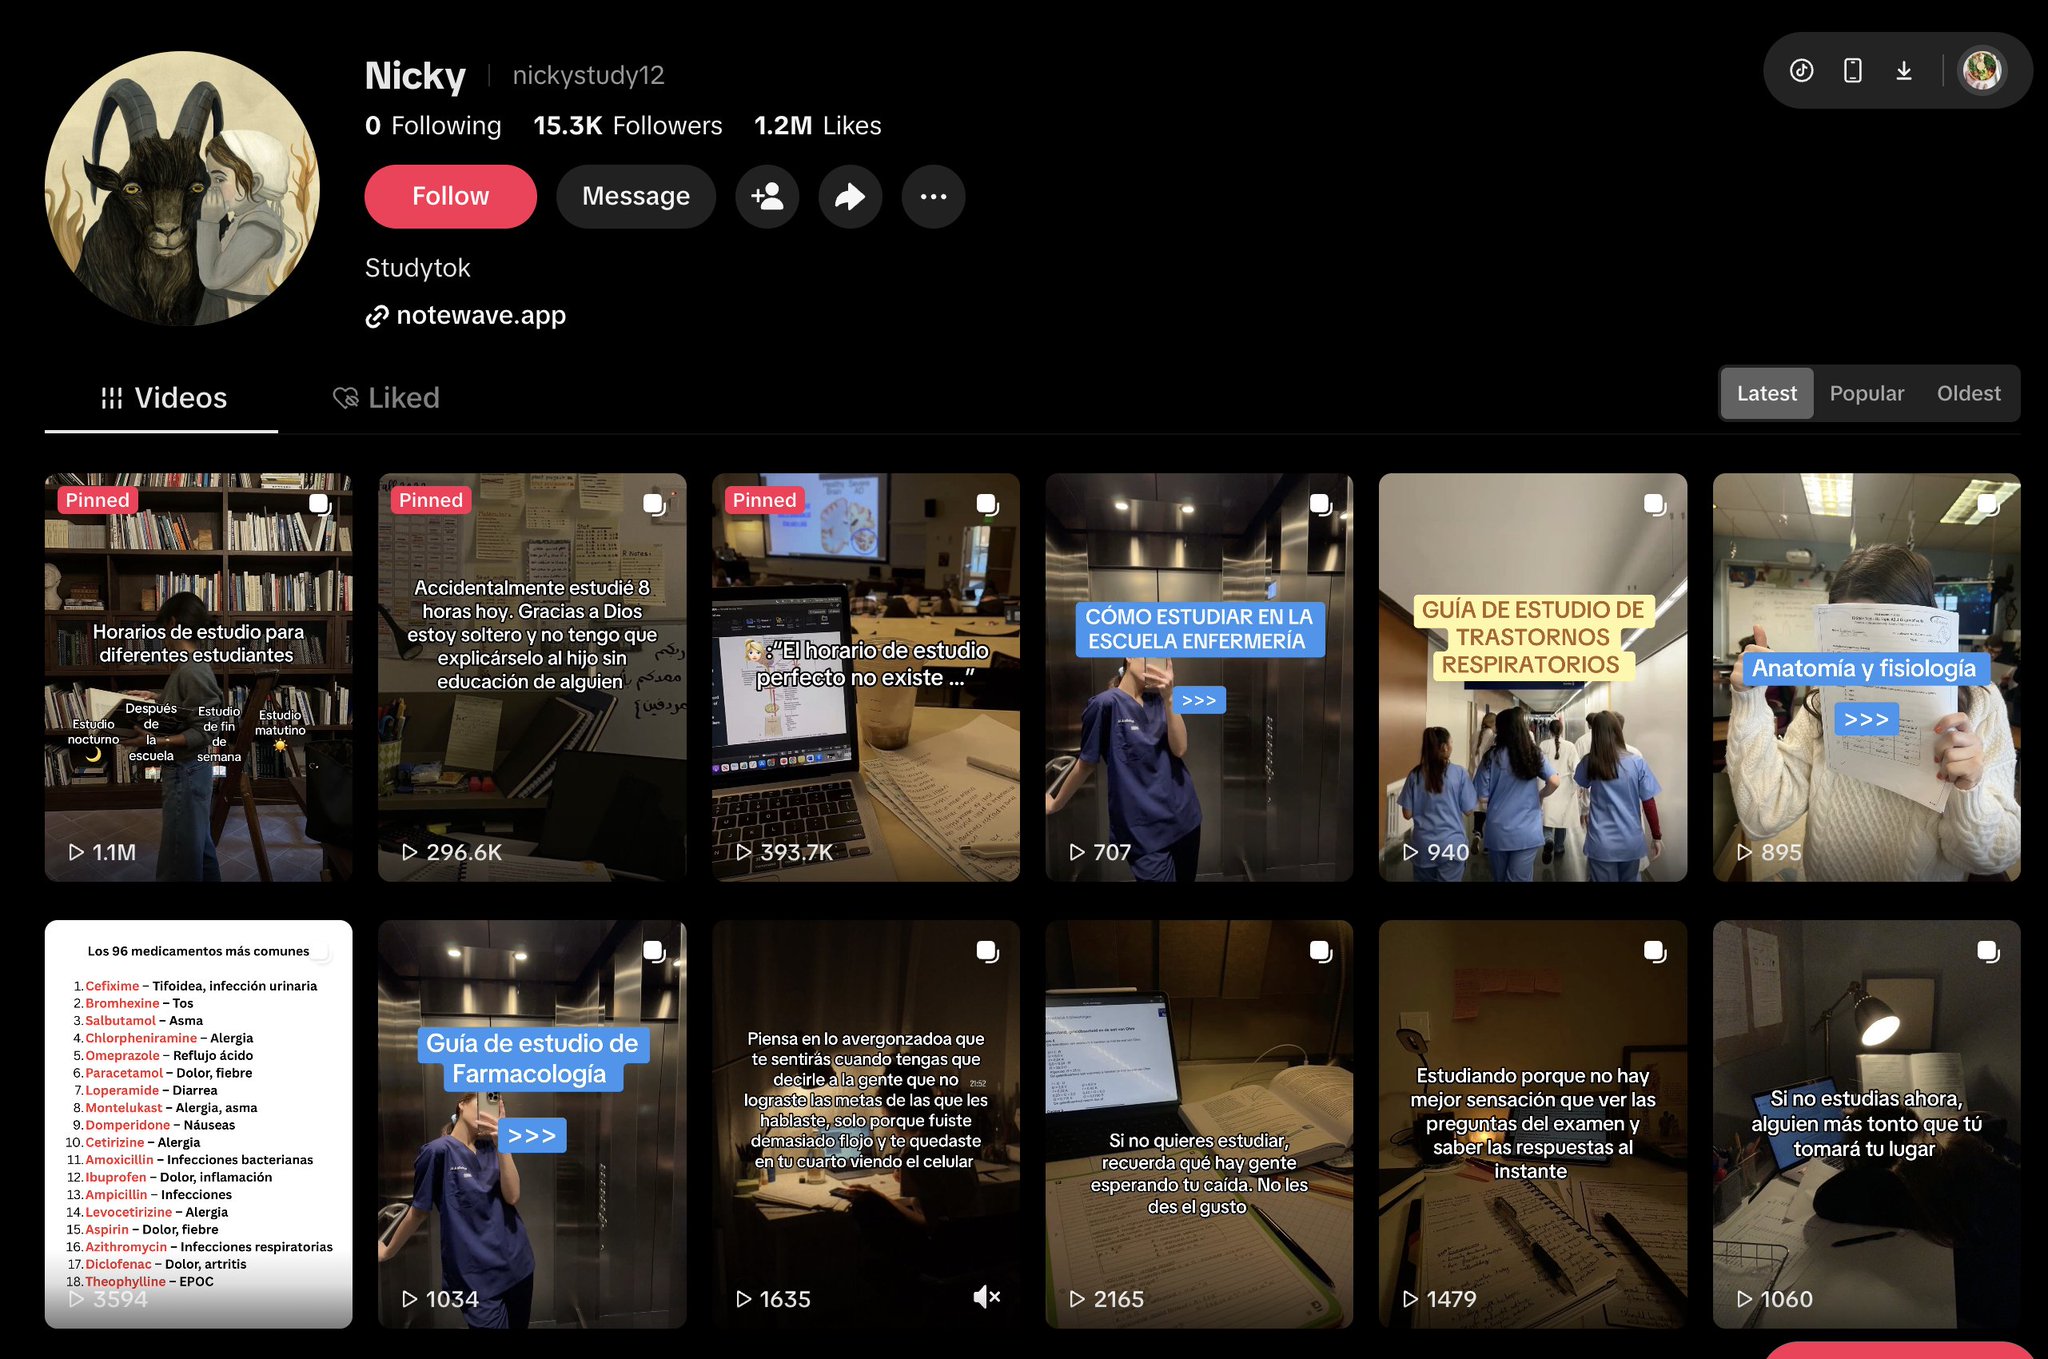
Link: https://www.tiktok.com/@nickystudy12
Here are the tools and the 6 steps. No coding, I promise.
The tools: snaptik (download) → Claude (the plan) → ChatGPT (images) → Pinterest (real photos) → Canva (put it together) → Postiz (schedule).
The whole idea: a viral post is a recipe. Copy the recipe, swap the ingredients, and you get a brand-new dish every time.
Step 1 — Find slideshows that already went viral
Open TikTok and look in your niche for slideshows that clearly blew up — way more likes than the account's usual, tons of comments, people saving and reposting. Those are your examples to learn from.
Copy the TikTok link, paste it into snaptik.app, and download it. You'll get all the slides as images.
Two simple rules:
- Learn from it, don't copy it. Never re-upload someone else's actual slides — that gets you a copyright strike. You're studying how it's built so you can make your own.
- Grab 5–10 examples, not one. One example just gives you a copy. Several let you see the pattern they all share, which is the real gold.
Step 2 — Ask Claude to turn it into a simple plan (with a hook on every slide)
This is the part that does the thinking for you. Upload the downloaded slides into Claude and ask it to break the slideshow down into a simple, slide-by-slide plan you can follow.
Copy-paste this prompt:
Here are the slides from a viral TikTok slideshow. For each slide, tell me: (1) the exact text that should go on screen, (2) a short description of what the image should show, and (3) whether I should make the image with AI or find a real photo for it. Also give me the caption and hashtags. Keep it simple and in plain language.
Claude hands you back a clean little plan, something like:
- Slide 1 (the hook): Text on screen — "i failed every exam until a med student told me this." Image — a messy desk at night, one warm lamp, open book and coffee.
- Slide 2: Text — "step 1: stop re-reading your notes (it's lying to you)." Image — close-up of highlighted notes.
- ...and so on for each slide, plus a caption like "save this before your next exam 📚" and hashtags like #studytok #studytips #examseason.
The one thing most people get wrong: every slide needs a hook
People sweat over the first slide and then go lazy: "step 1… step 2… the end." That kills you. On a slideshow, people only keep swiping if each slide makes them want to see the next one. So ask Claude to make every slide a mini-hook.
Paste this:
Rewrite the text on every slide so each one makes the viewer want to swipe to the next. No boring labels like "step 1" — make every line curious or surprising. Keep each under 12 words and casual, like a real person talking.
The difference:
- Boring (people leave): "Step 2: use active recall."
- Hooky (people swipe): "step 2: the trick that feels harder but works 3x faster."
Same info. Totally different results. Do this on every slideshow before you make a single image — it's free and it's the biggest difference between flopping and going viral.
Want 10 slideshows instead of one? Just ask: "Give me 10 versions of this with different hooks." Now you've got a week of content from one example.
Step 3 — Make the images with ChatGPT
Take the image descriptions from your plan and make them in ChatGPT (its image generator).
Do them one at a time — paste one slide's description, get the image, save it, then do the next. Don't ask for all 6 at once; it gets confused and the images come out messy.
A few easy tips for nice, matching slides:
- Ask for vertical images (tell it "tall, phone-shaped, 4:5"). That's the TikTok shape.
- Keep the same vibe on every slide. Add the same look to each description, like "warm lighting, cozy, slightly film-like." That keeps your slideshow feeling like one set.
- Leave room for your text. Tell it to keep the top or bottom of the image fairly empty so your words fit nicely later.
Step 4 — Grab real photos from Pinterest for the simple slides
Here's a money-and-quality tip: don't make every slide with AI. It's slower, it costs more, and a slideshow that's 100% AI starts to feel fake — and people can tell.
So split it:
- Use AI for slides that need something specific you can't find (a person, an exact scene).
- Use Pinterest for the "vibe" slides — a cozy study desk, handwritten notes, a coffee cup, a calm bedroom. These already exist, look real, and cost you nothing.
Just search Pinterest for the mood (e.g. "aesthetic study desk at night," "handwritten notes flatlay") and save what fits.
One important habit: don't post a Pinterest photo exactly as-is. Crop it, adjust the colors to match your other slides, and put your text on top in Canva. That makes it your slide instead of someone else's photo. When a photo is doing real work, lean toward images you're actually allowed to use (your own photos or free-to-use stock).
Mixing real photos with a couple of AI images is what makes a slideshow feel like a real person made it — and that's exactly what gets saved and shared.
Step 5 — Put it together in Canva
Open Canva, start a design at 1080 × 1350 (the tall TikTok size), and drop in your images — the AI ones and the Pinterest ones together. Then add your text from the plan.
Three things to focus on:
- Make the text big and readable. Bold, with an outline or shadow so it shows up on any background.
- Make slide 1 the strongest. It does most of the work of stopping the scroll.
- Keep a consistent look. Same font and colors every time so your account looks put-together, not random.
Then download each slide as an image. Done.
About the "AI label" on TikTok: TikTok can detect AI-made images and add an "AI-generated" label, and you might be tempted to find ways to hide it. Honestly, skip that. The label barely affects your reach — a strong hook matters far more — and trying to hide AI content is against TikTok's rules and can get a new account in trouble. If you're posting genuinely AI content, just turn on the disclosure and post. If TikTok wrongly labels work that's mostly yours, use TikTok's own option to dispute the label. Build on the version that won't get you in trouble later.
Step 6 — Schedule everything in Postiz
Now you've got a stack of finished slideshows. Postiz turns that stack into a posting schedule so you're not uploading by hand every evening.
It's all clicking, no code:
- Schedule right in the Postiz dashboard. Open the calendar, create a new post, upload your slides in order, add the caption and hashtags from your plan, pick a date and time. That's the whole thing — a visual calendar you drag posts onto.
- Spread posts out, don't dump them. Post at a steady rhythm (mornings and evenings usually work) so your account looks like a real person, not a robot dropping 20 posts at midnight.
- For brand-new accounts (especially on a VPN): use "Save as Draft" instead of posting automatically. New accounts get watched closely by TikTok at first, and posts fired straight from an outside tool — especially over a VPN — are the kind of thing that can get a fresh account shadowbanned. So for the first couple of weeks, have Postiz send the post to TikTok as a draft, then open the TikTok app yourself and tap "post." It's one extra tap, but it looks like a normal upload, which is exactly what a young account needs. Once the account is settled and posting fine, switch back to automatic scheduling.
Why this works
Most people treat every slideshow like a brand-new creative project. It isn't. The hard creative work already happened — when a post proved the recipe works. Everything after that is just following the recipe:
- snaptik finds a winner.
- Claude turns it into a simple plan, with a hook on every slide.
- ChatGPT makes the images you can't find.
- Pinterest gives you the real photos for everything else.
- Canva puts it together.
- Postiz schedules it.
One winner becomes a template. One template becomes a week of posts. And in short-form, posting often is most of the game — this just lets you do it without burning out.
Resources:
Set the routine up once. Then let it run.