AI has approached human capabilities in various fields, but design has long been one of the areas where AI struggles. However, I think many people slightly misunderstand what it means to "design with AI."
In this article, based on the post "How To Actually Design With AI" by Leon Lin (@LexnLin), I have carefully organized practical ways to proceed with design using AI in Japanese.
At the end of the article, I am distributing a design system kit for creating high-quality designs with Claude.
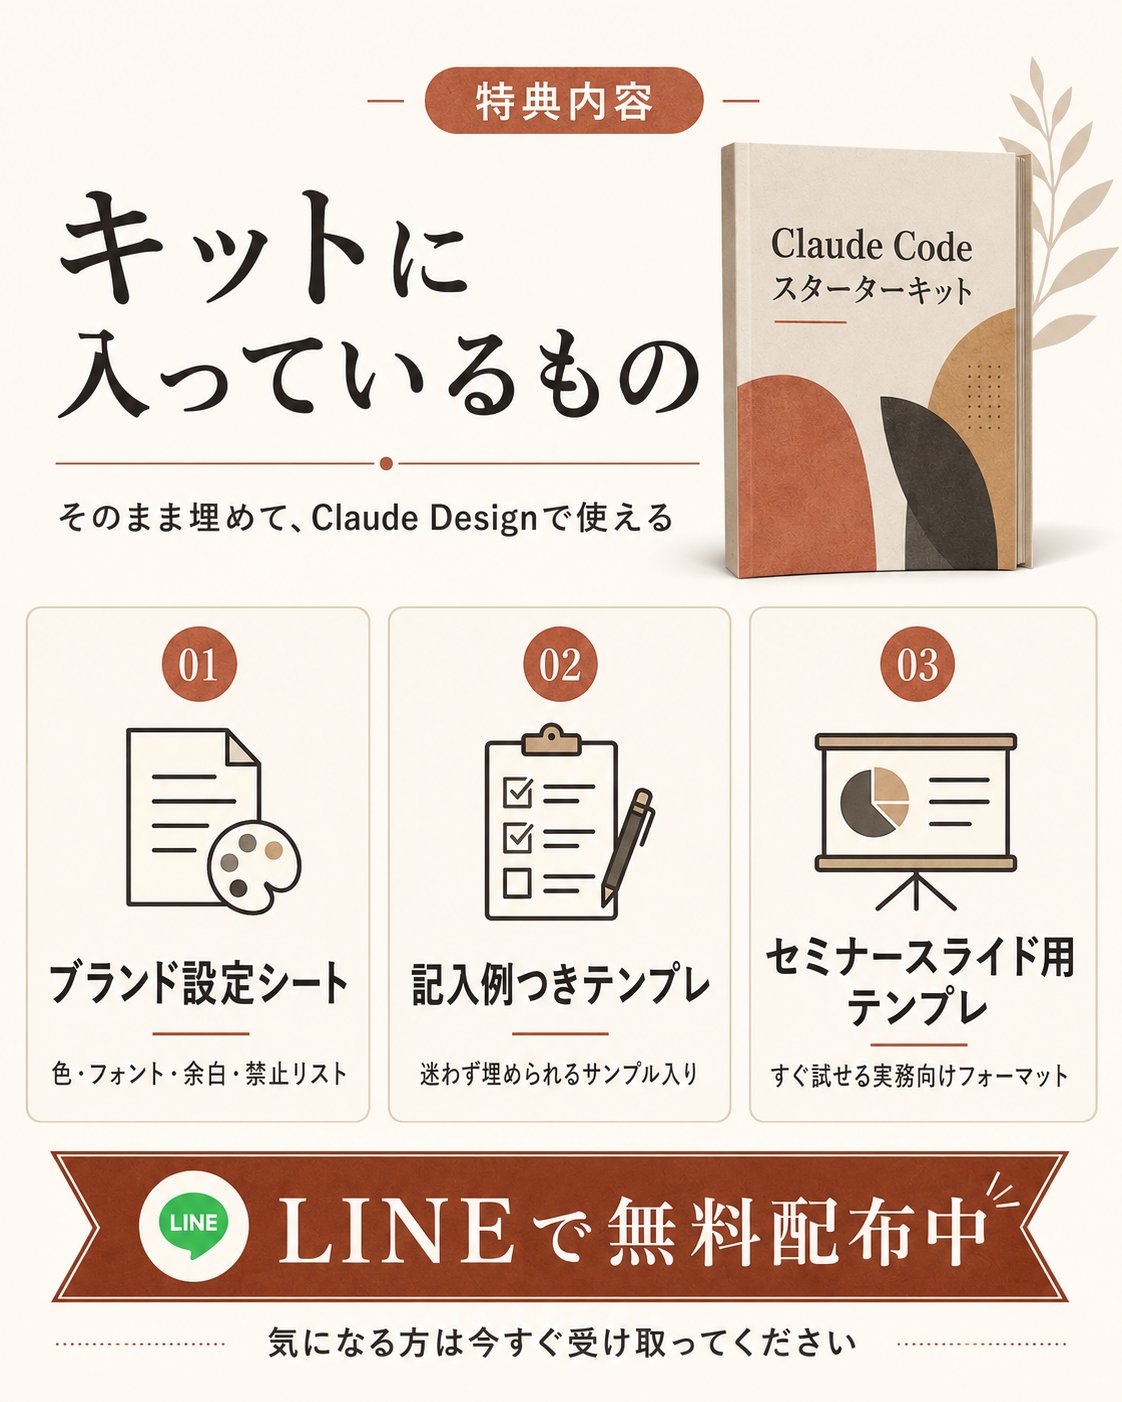
You can receive it at the bottom of the article.
Prerequisites to Keep in Mind
"Designing with AI" does not mean leaving everything to the AI. Ideas, direction, intuition, and creativity ultimately come from yourself. It is easier to understand if you think of AI as something to "give shape to (execute)" those things.
The general flow consists of these 3 steps:
- Develop ideas yourself
- Gather inspiration
- Translate your thoughts into prompts and let the AI create
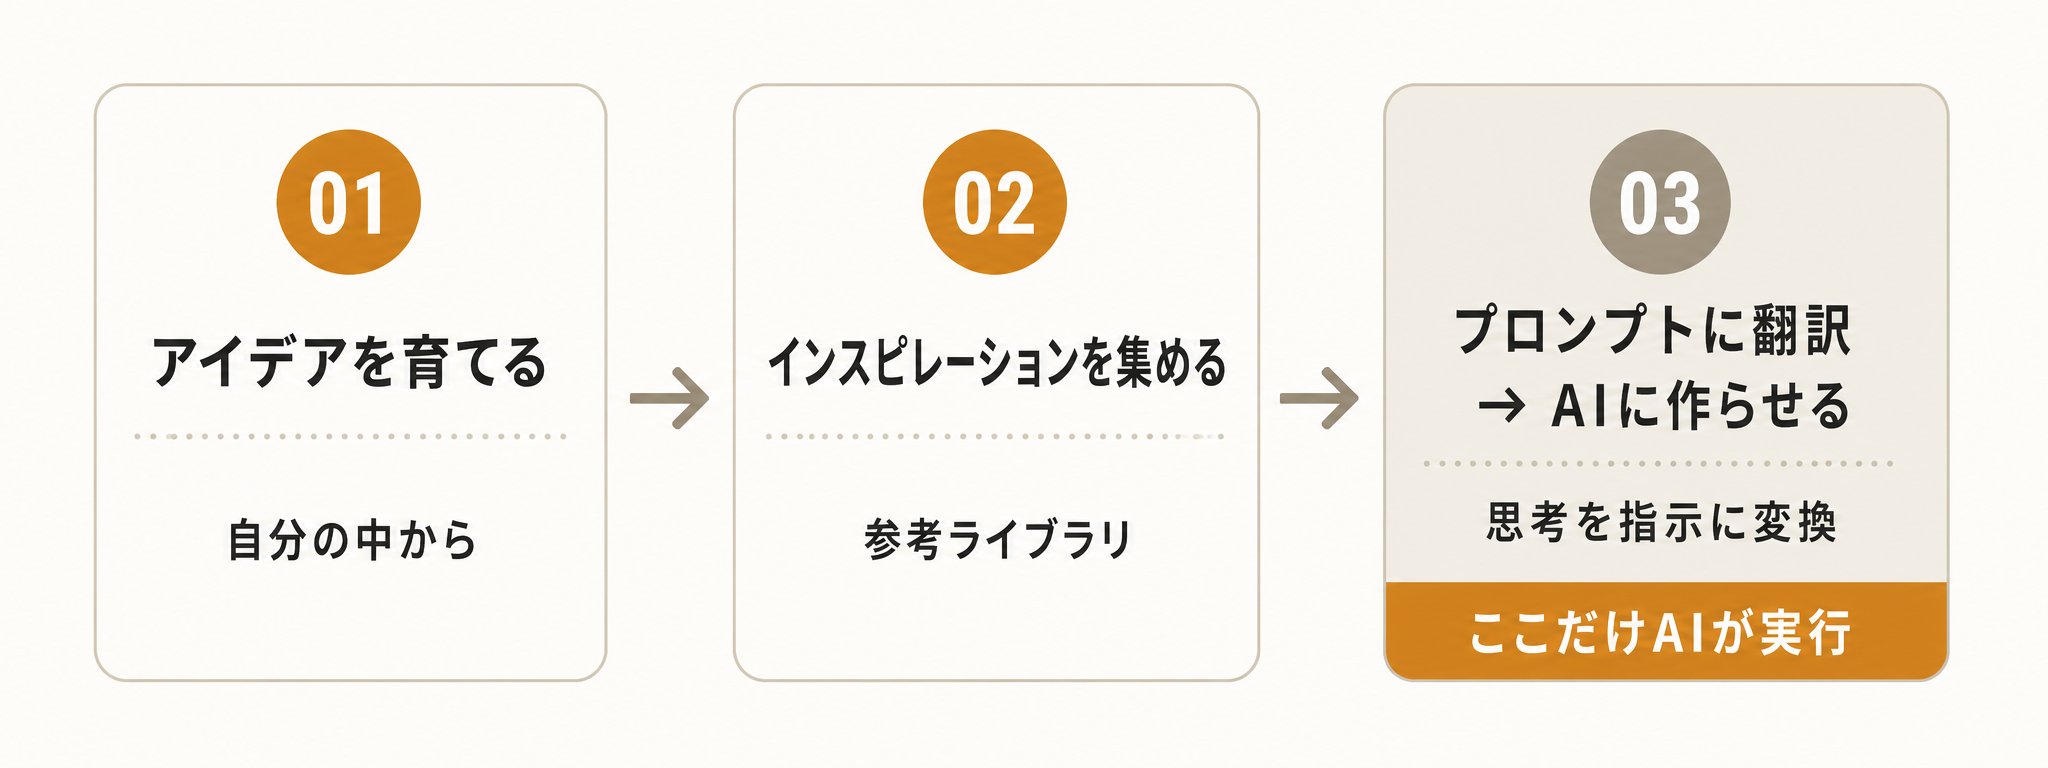
You can use any tool or environment (harness) like Cursor, Codex, or Claude. The essence lies in "converting your thoughts into instructions."
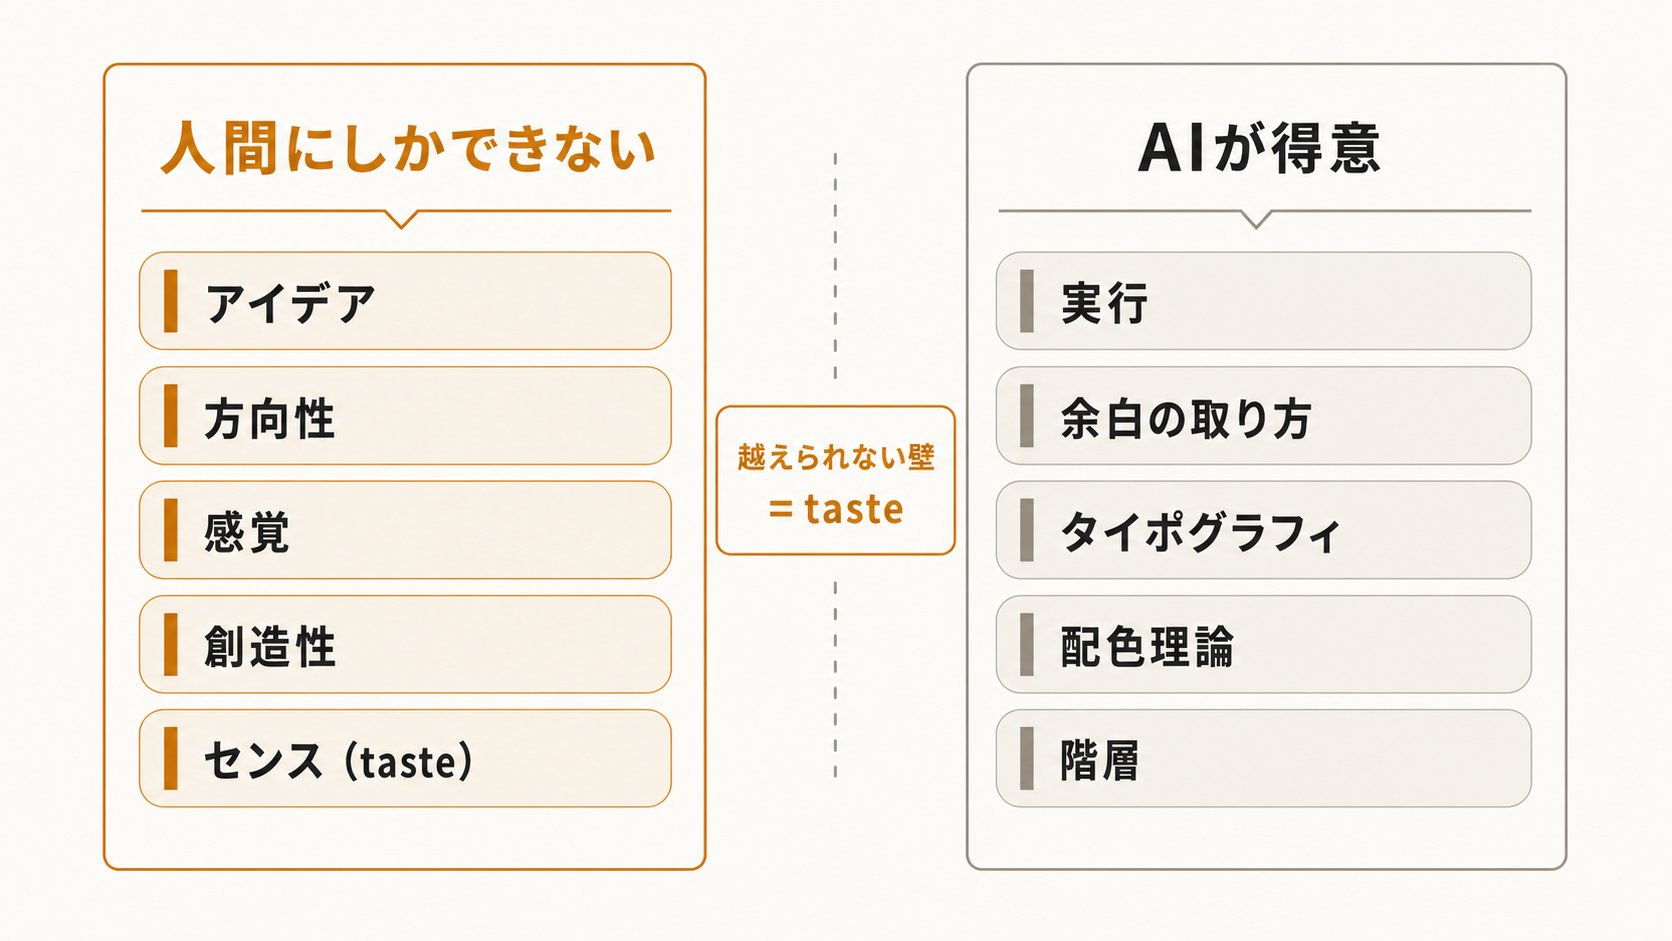
AI is very good at execution, but it does not yet possess true creativity. It understands "design rules" such as white space, typography, color theory, and hierarchy. However, it cannot understand what feels "truly good," "original," or "meaningful" — in other words, taste.
This is the biggest gap. At this point, you cannot give AI real taste, but you can work around that limitation by assuming it exists.
Method 1: Using Design Skills
This is the quickest approach. When you don't have time or are making something small, it's effective to rely on pre-prepared "design skills."
Examples include:
- Impeccable (impeccable.style
- Emil Kowalski's UI skills (GitHub: emilkowalski/skills)
- Skills.sh
- TasteSkill (tasteskill.dev
The process is very simple:
- Add design skills
- Give context to the AI
- Send a few prompts to have it create a site, app, or poster
- Fix obvious problems
- Publish
The results are usually "decently good." They might look similar to other AI-generated designs, but using high-quality skills avoids the worst failures and the "AI-ish" look. This is the method many people actually use.
Method 2: Designing Yourself with AI
If you want to create something that "truly stands out," you need to go a step further. You want users to feel that your product is "well-thought-out" when they touch it — for that, a more intentional process is required.
Whether it's a mobile app, desktop app, website, landing page, dashboard, or poster, you first need a clear direction. If you don't know what you want to make, the AI won't find it for you.
Start with "Meaning"
First and foremost, define the foundation. Try answering these questions:
- Who is this for?
- What problem does it solve?
- What should it feel like?
- What does it embody?
UI reflects the "meaning" of a product. Write these down. You can use AI here too, but the trick is to use it to ask you questions rather than for design.
For example, have the AI ask you:
- What is this product about?
- Who are the intended users?
- What emotions do you want to convey?
- What should the brand atmosphere be?
- What colors and fonts fit?
- Minimalist / Playful / Premium / Technical / Experimental — which direction?
Gather Inspiration
Once the direction is set, start gathering references. One powerful source is Mobbin, which has actual product screens across various categories.
The important thing here is not just to look and think "that looks good." Ask yourself why it's good.
- Is it the layout?
- The white space?
- The typography?
- The structure?
- The interaction?
Save things you like and organize them into folders like:
- Navigation
- Hero
- Pricing
- Cards
- Mobile screens
- Dashboard
- Animation
- Typography
Taking the time to grow your own reference library like this is how you cultivate "taste."
Other helpful sources include Pinterest, Cosmos, Awwwards, Webflow Templates, Craftwork, Rebrand Gallery, Component Gallery, Savee, and Lummi.
Note: avoid copying designs wholesale. It's important to combine multiple ideas and elevate them into something that fits your product.
Map the Structure
Next, define what you actually need to build. For a website, that might be navigation, hero, features, pricing, testimonials, CTA, and footer.
For an app, it might be onboarding, home, search, profile, settings, core flows, and empty states.
Each section needs clear content. For a hero section, you need a headline, description, CTA, and visuals. AI can help with the copy, but "clarity" ultimately comes from you.
Build by Component
Finally, it's time to produce. Take the individual ideas you referenced and rebuild them to fit your product.
Instead of saying "make a whole website," the key is to say "based on this style, make a hero section tailored to my brand."
Proceed step-by-step: Navigation → Hero → Cards → Buttons → Typography → Details. AI is much better at small tasks, and this allows you to maintain control.
Generate Custom Assets
Use image generation as needed. Image generation tools are now powerful enough. The trick is to clearly convey context such as color, style, composition, and purpose.
Avoid generic stock images. Using custom visuals creates a sense of unity throughout.
Overall Workflow
In summary, the flow looks like this:
- Define the idea
- Clarify the purpose and user
- Decide on the brand direction
- Gather references
- Organize them
- Map the structure
- Create components
- Generate assets
- Add interactions
- Polish the whole thing
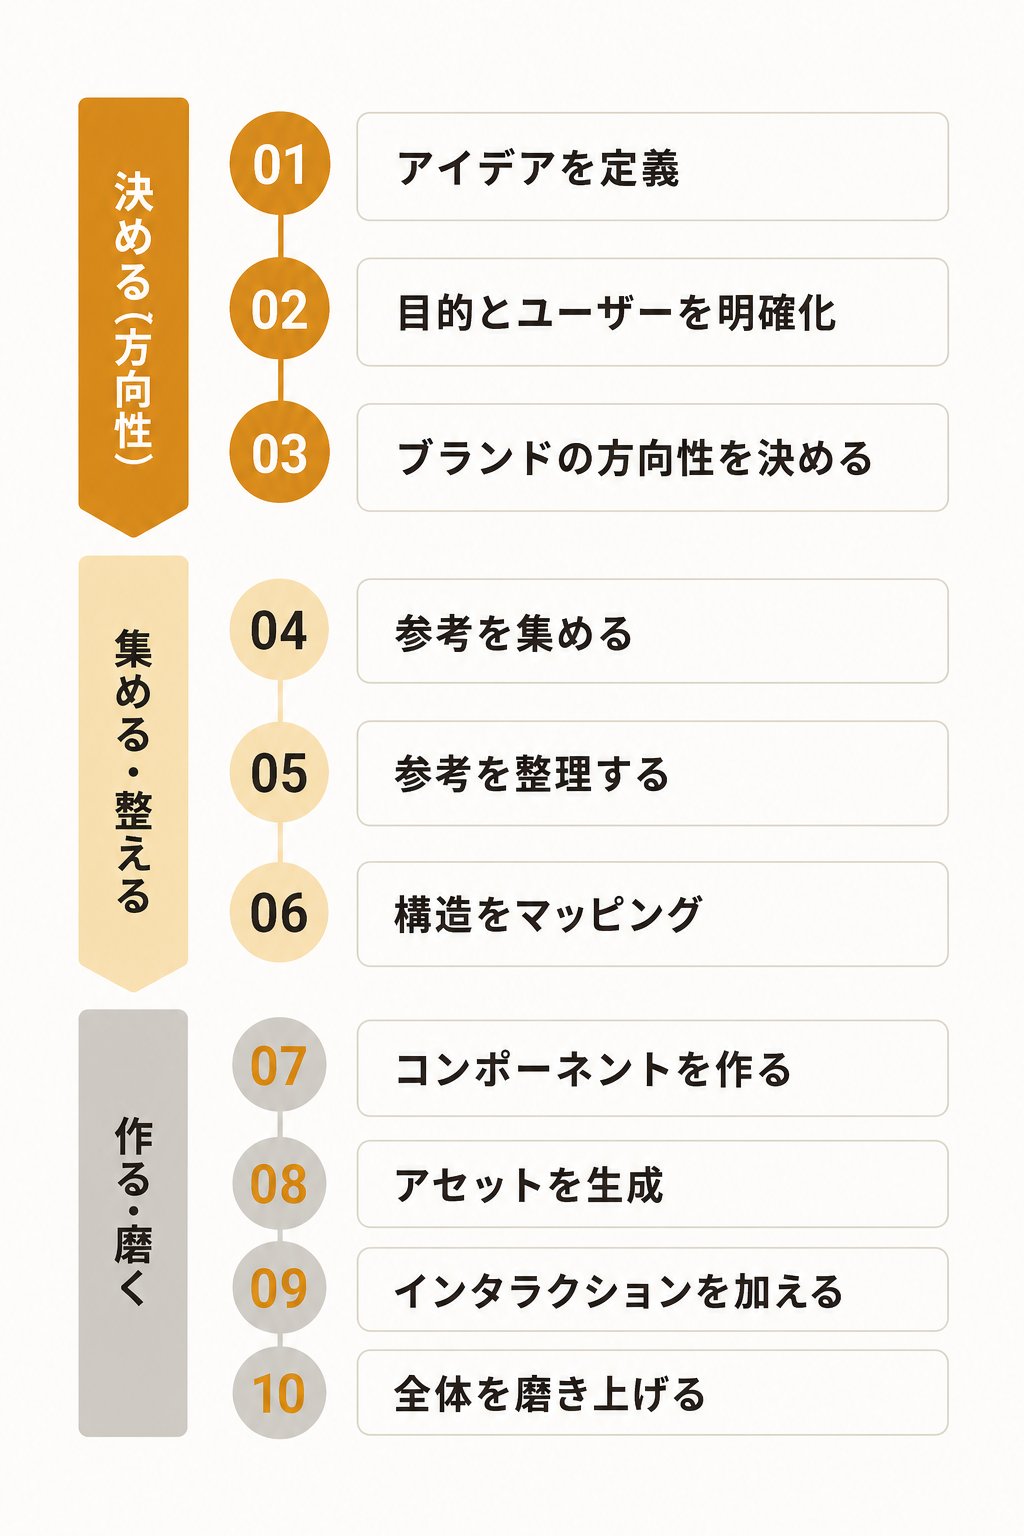
You get much better results than creating with a single prompt.
Method 3: Using Inspiration Boards
There is also a slightly faster "middle ground." Instead of assembling everything one by one, you provide the AI with a curated set of references.
Gather screenshots from Mobbin, Awwwards, Webflow, etc., and ask:
Please combine the style and direction of these references to create a design for my product. However, do not copy them exactly.
Of course, this assumes you've provided enough context and let the AI ask questions first. It's faster than manual work but yields much better results than a generic one-shot prompt.
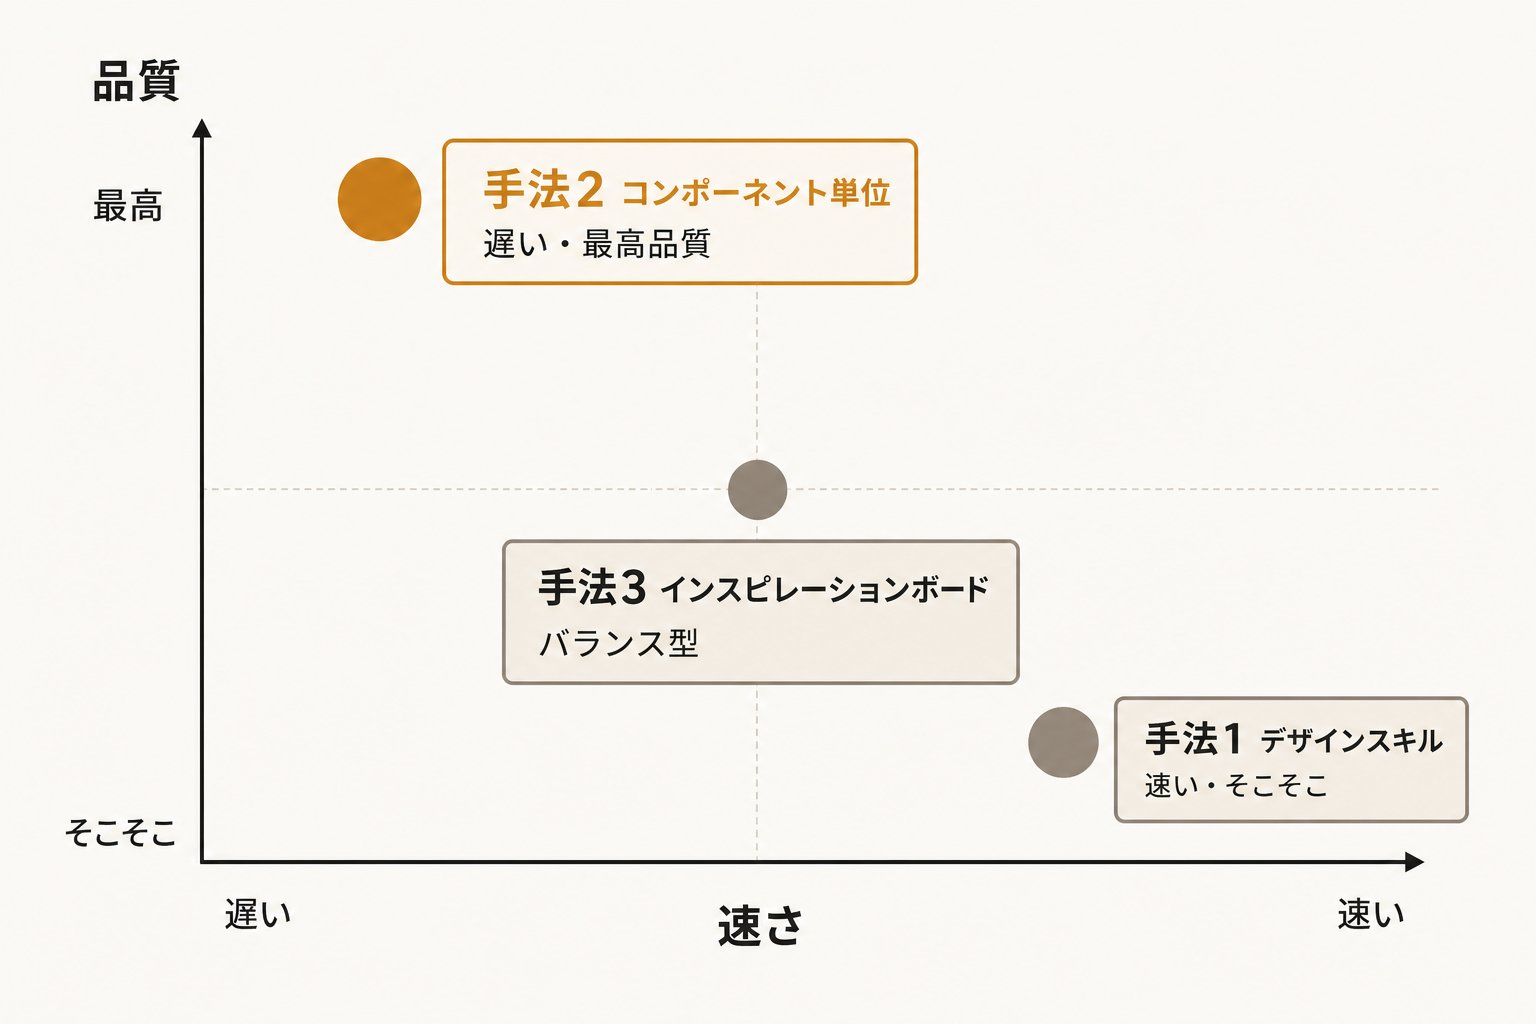
Summary of the 3 Approaches
- Method 1: Design Skills — Fast, decent results
- Method 2: Component-based — Slower, but highest quality
- Method 3: Inspiration Board — Balanced
Other Useful Tools
- SVG Generation: Tools like Quiver can create SVGs. Since elements are separated, they are easier to animate.
- Video: Tools like Google Flow. Can enhance heroes, backgrounds, and product demos.
- Image Libraries: Platforms like Lummi. But choose images that fit the brand.
- Layering: Add depth, movement, and interaction with background removal and layering. The accumulation of details makes a big difference.
Conclusion
AI is not a replacement for your thinking.
- What to make
- Why it's important
- Who it's for
- What it should feel like
You are always the one who decides these things. AI just executes them faster. The best results come not from better prompts, but from better taste.
*This article was reconstructed in Japanese based on Leon Lin's (@LexnLin) X post "How To Actually Design With AI."
I am distributing the "Claude Design System Kit" for free on LINE.
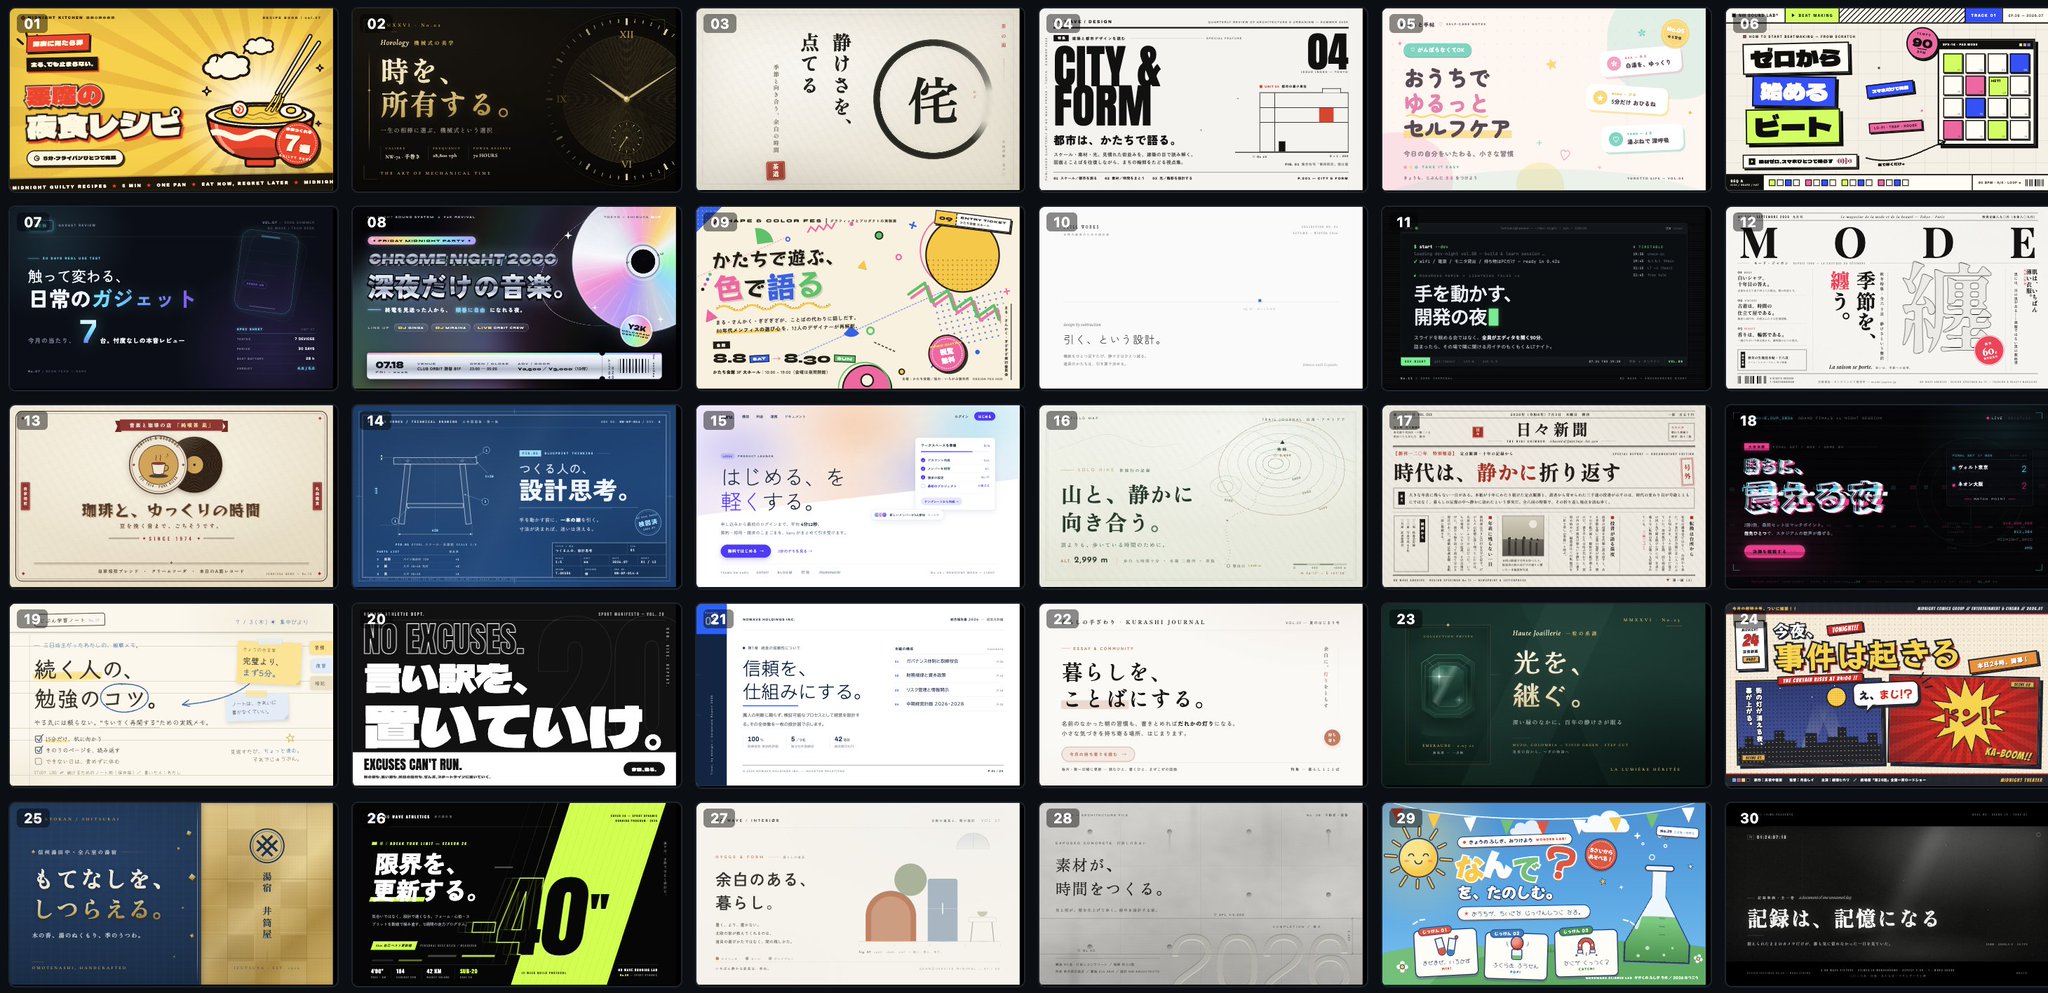
▼ Register on LINE to receive the "Claude Design System Kit"
https://t.co/90omRA4UQ7
Please join the Open Chat (LINE OpenChat), and then from the official LINE mentioned in the notes, send:
Design System
and you will be able to receive the benefit.
※ Please refrain from sending keywords within the Open Chat itself.
I recommend putting the template into Claude Design as is and trying to make just one document. That alone should give you a feel for using a design system.
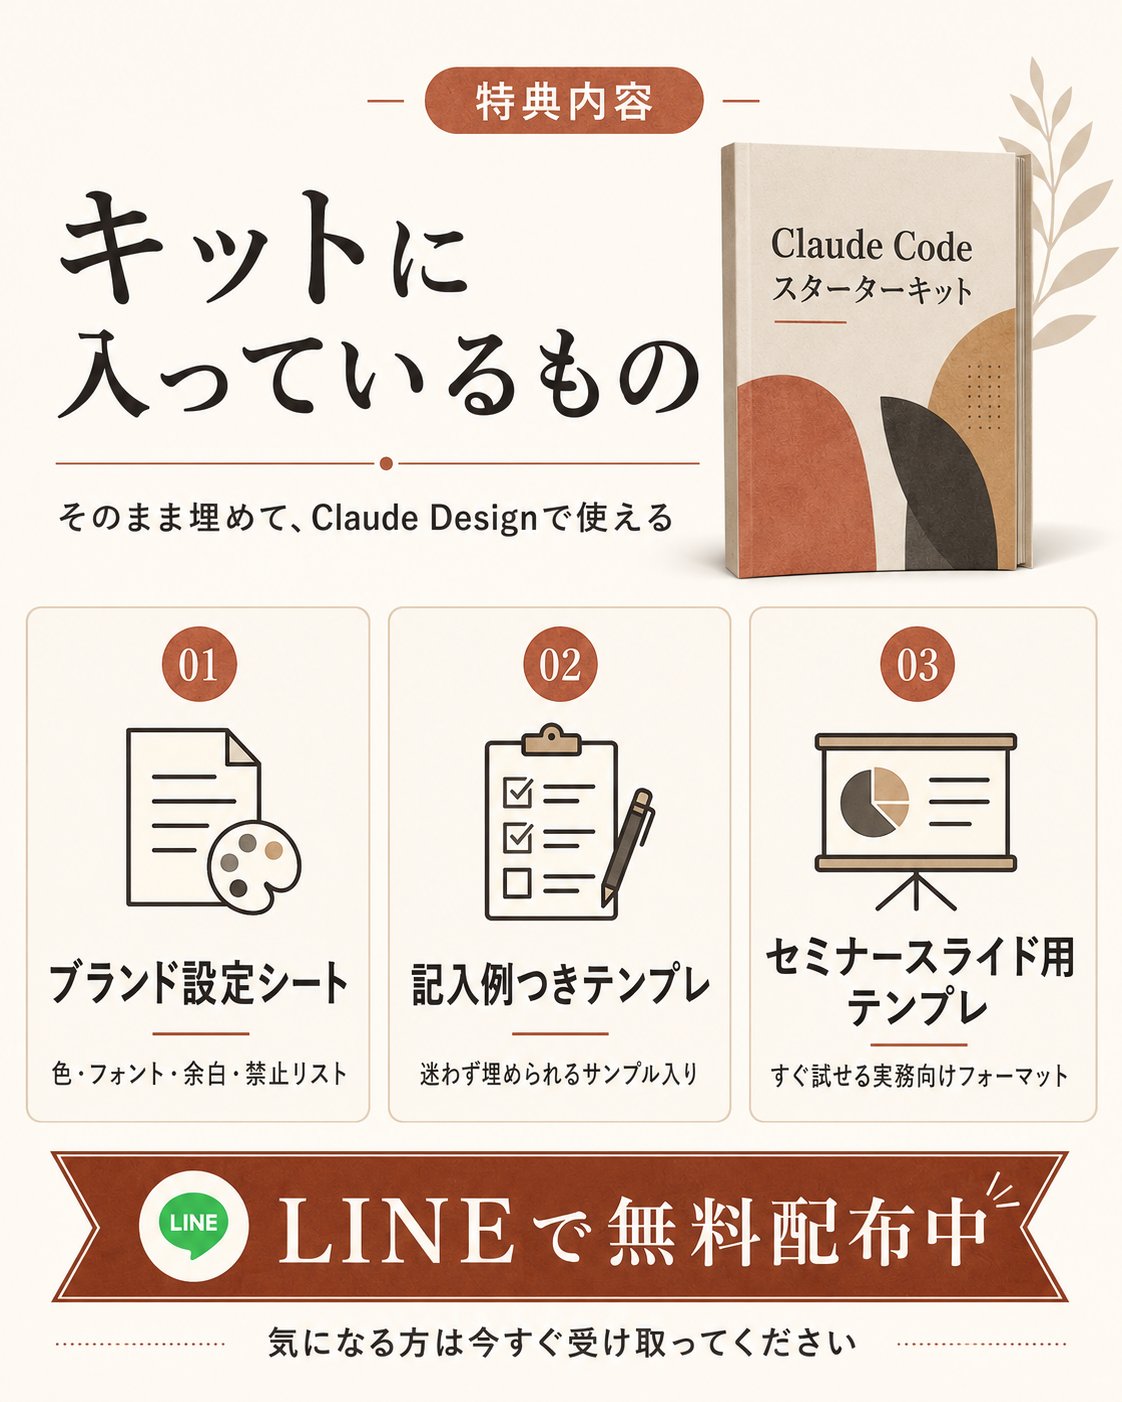
▼ Register on LINE to receive the "Claude Design System Kit"